performance
01
Sep
Toe and Flow
- By basil
- No Comments

Mendeola True Track toe adjustment guide.
Finally had some free weekend time to seriously work on the cooling and rear suspension. Updates below, enjoy.
Toe
After straightening out the rear end’s body work. It was obvious that the rear toe was too aggressive. It was pretty much aligned to a body that was mis-aligned. :). On the Mendeola site it recommends between 1/4 and 1/8 inch toe but I think Revenant team measured it to be 1.5 inches in total. Mendeola’s True Track rear end makes toe adjustment pretty straightforward. CJ made the adjustments and we took the car out for a spin in the dusk of the early evening.
With CJ holding a big spot light for visibility, we drove the car over to our buddy Veek’s house. Veek built a rat rot model A Ford and I made sure he heard us coming up his driveway but of course he wasn’t home! ;)
Flow
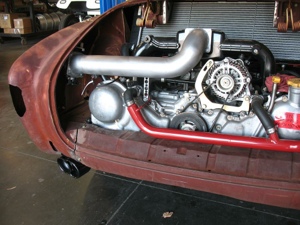
Fans weren’t working at first so we powered them up outside of the ECU relay for confirmation. They worked, but were turning the wrong direction! We tracked down the wires coming off the fans and reversed the polarity to have them push instead of pull which was against the expected air flow design. Problem one solved.
After pulling the cover of the high voltage ECU relay panel, there was one disconnected wire (ECU-) so we hooked that up and did a better job of seating/connecting the fan wire to the GPO4 terminal. (We will be going through and fixing the wiring properly after we pull the body).
We fired up the car, laptop/ECU software and manually triggered the fan and boom, it all worked out. We will tune this a bit later but we are in a good spot here. We turned on data logging and let the thermostat open up. At idle, the car held around 95C which is the standard operating temperature for our EZ30R engine.
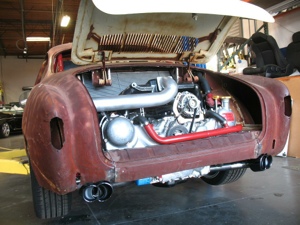
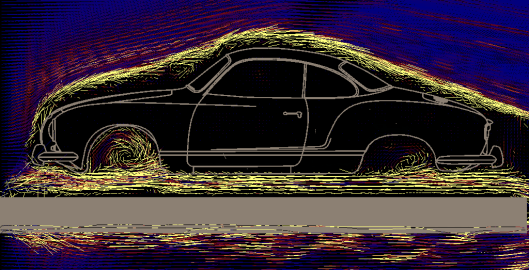
So for the benefit of those new to this build and my Ghia enthusiasts, yes that rear grill looks pretty strange with the air vents relocated to the rear as shown. We did some software based testing of the airflow and we think that the vents place here are the best place to take advantage of the low air pressure. This is what we are testing.
We added some yarn to the deck lid to record video of the air flow based on the relocated deck lid vents. We quickly realized that we’ll need a manometer to really check the pressure differential so will be ordering one of those soon.
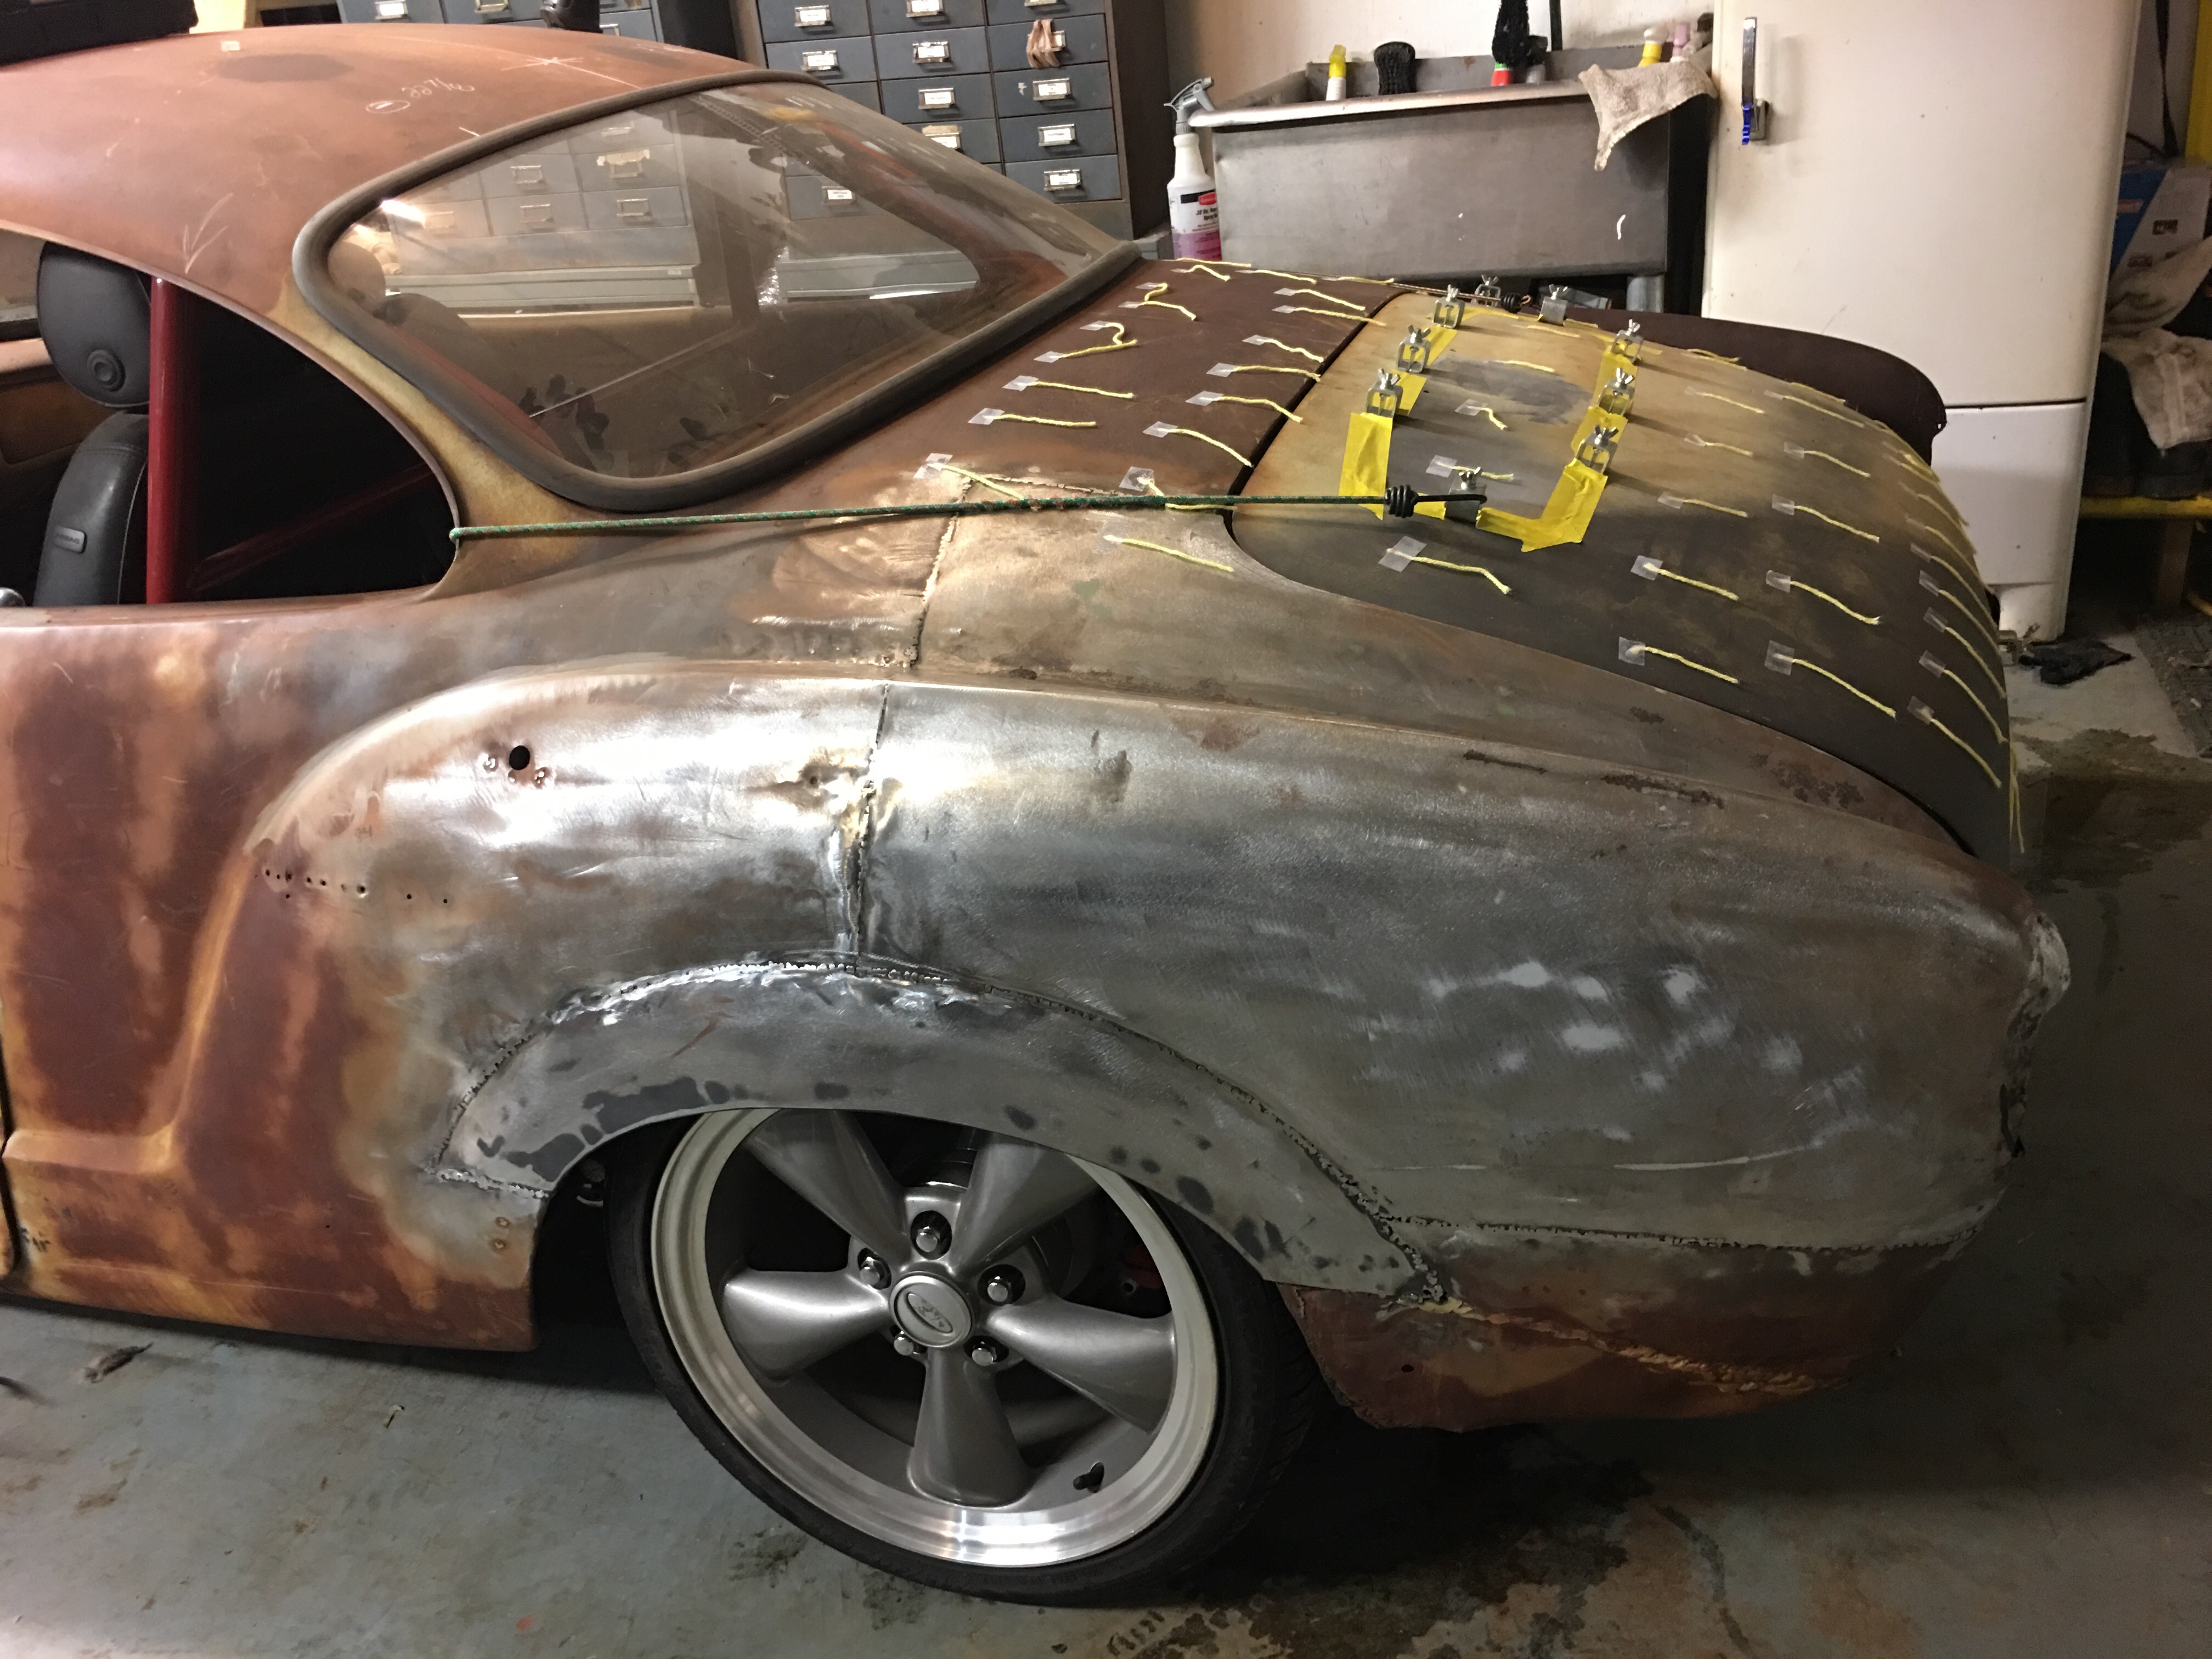
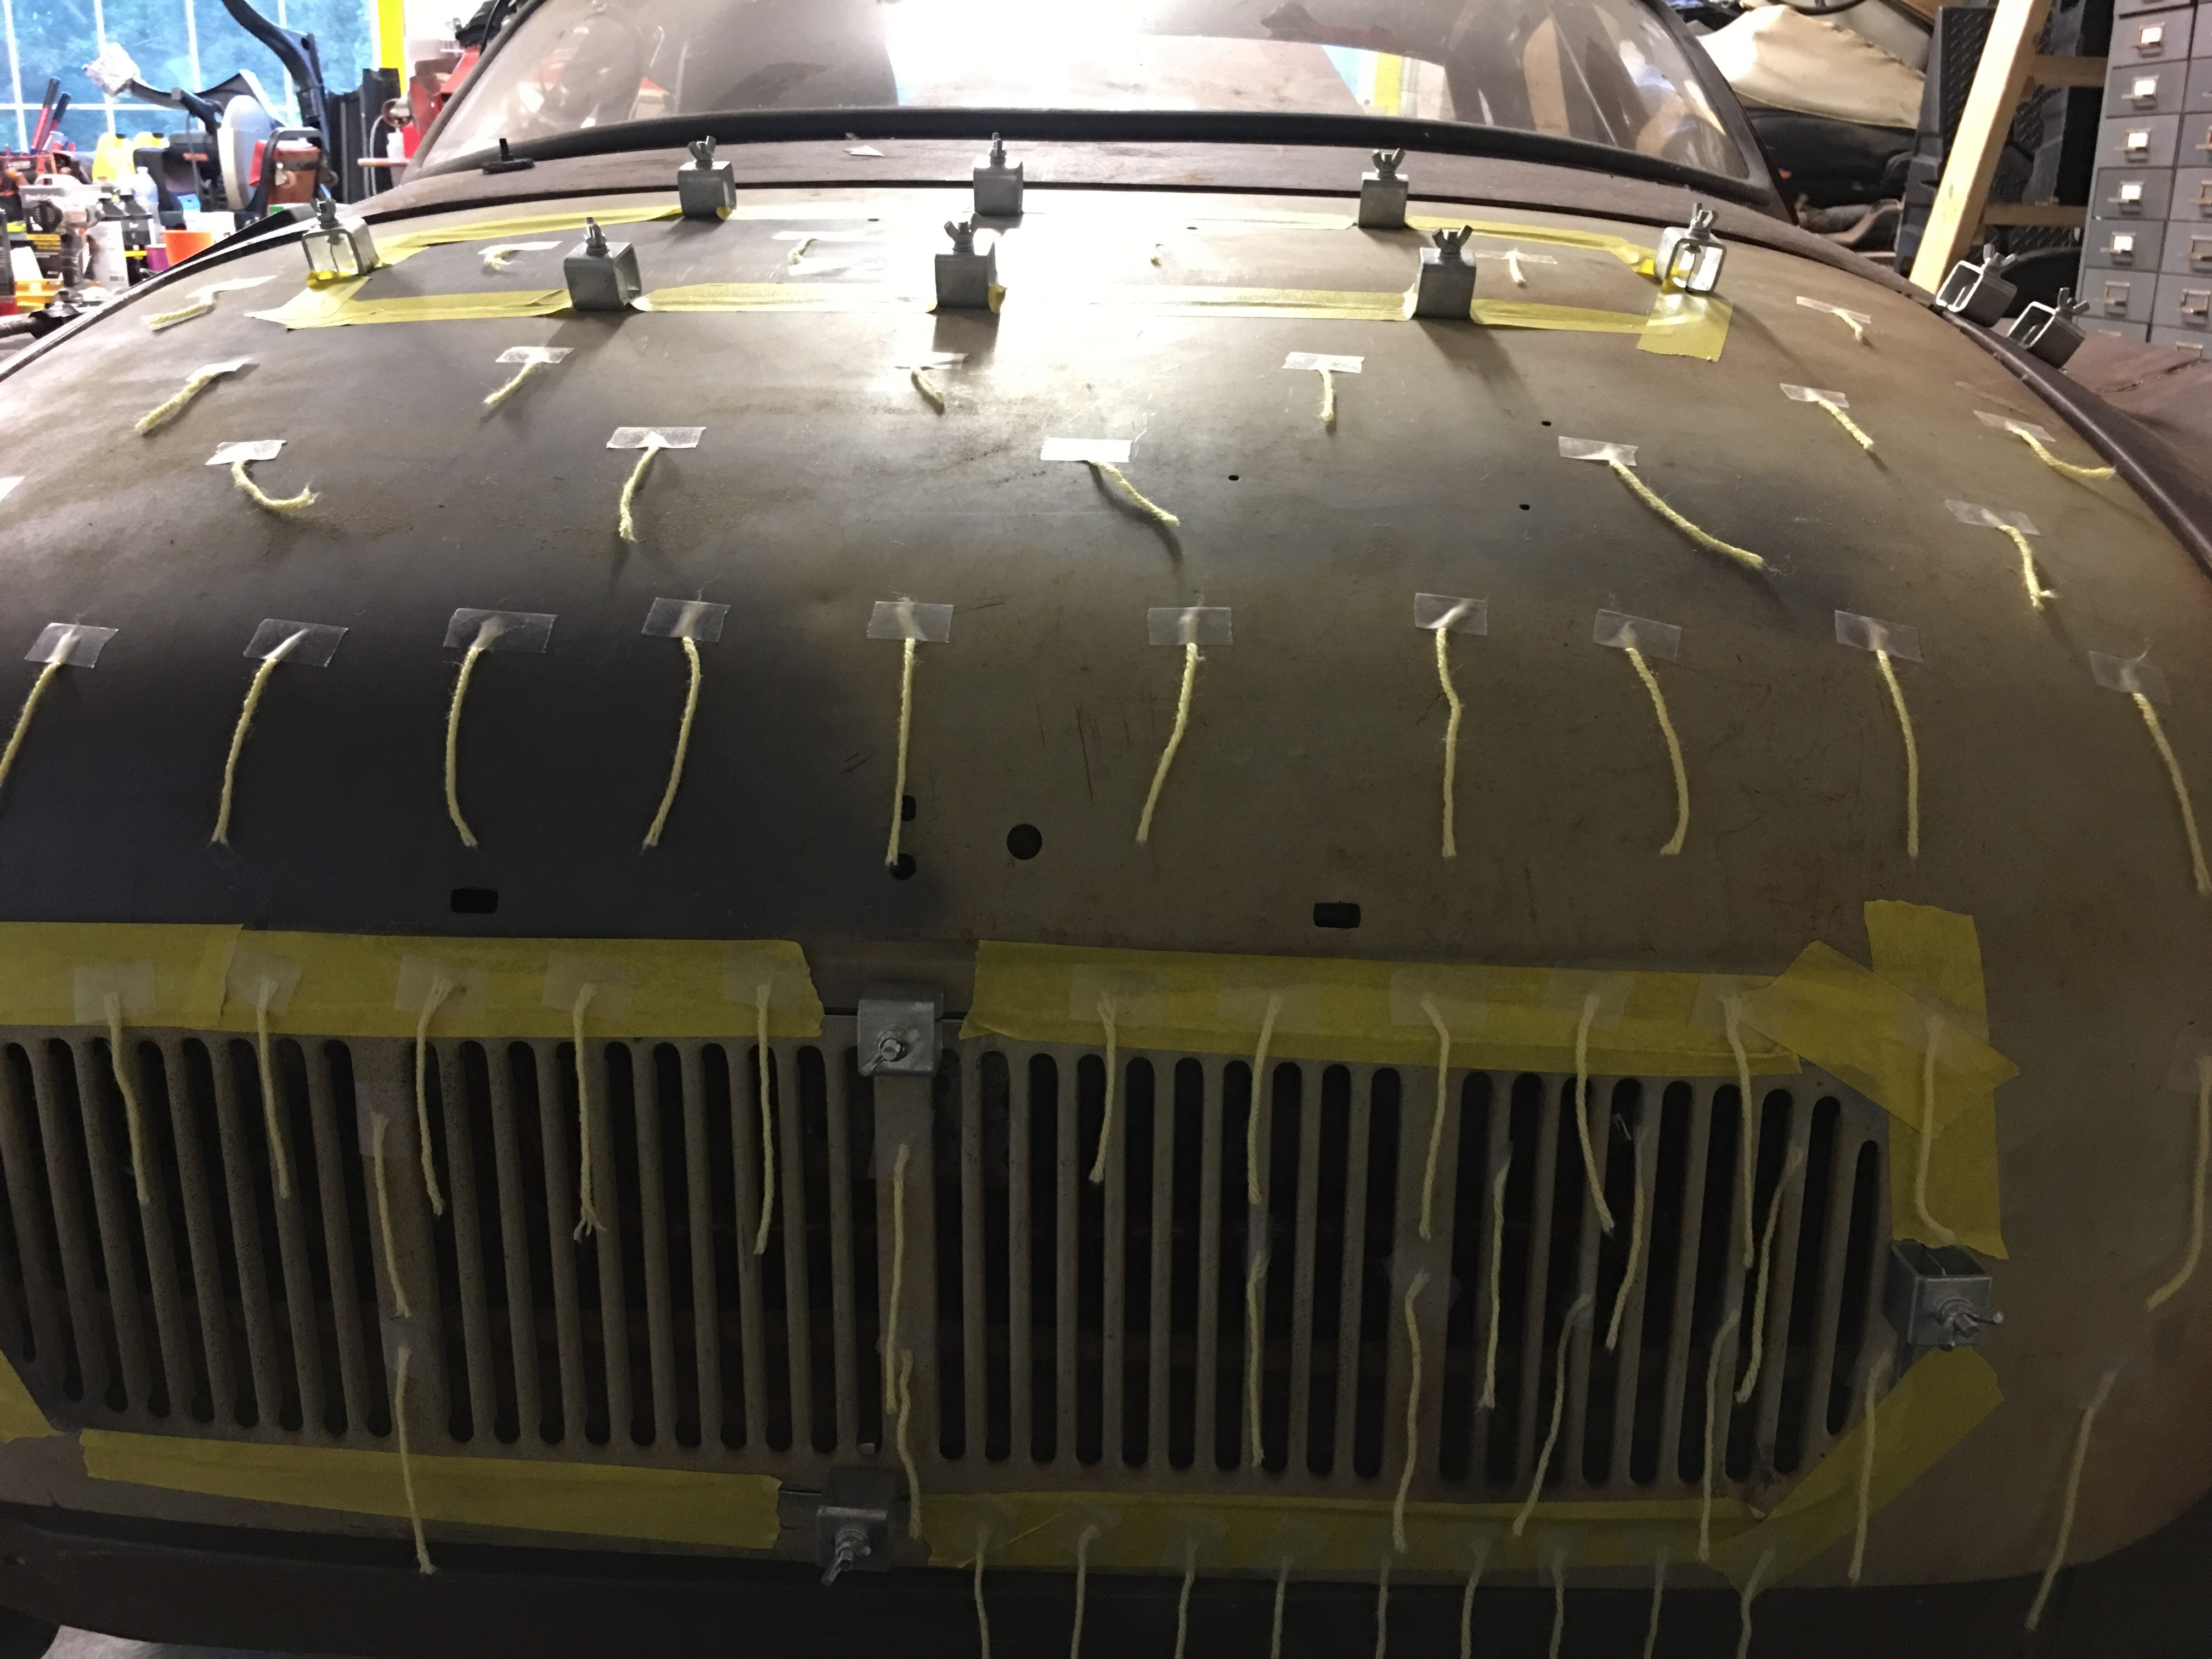
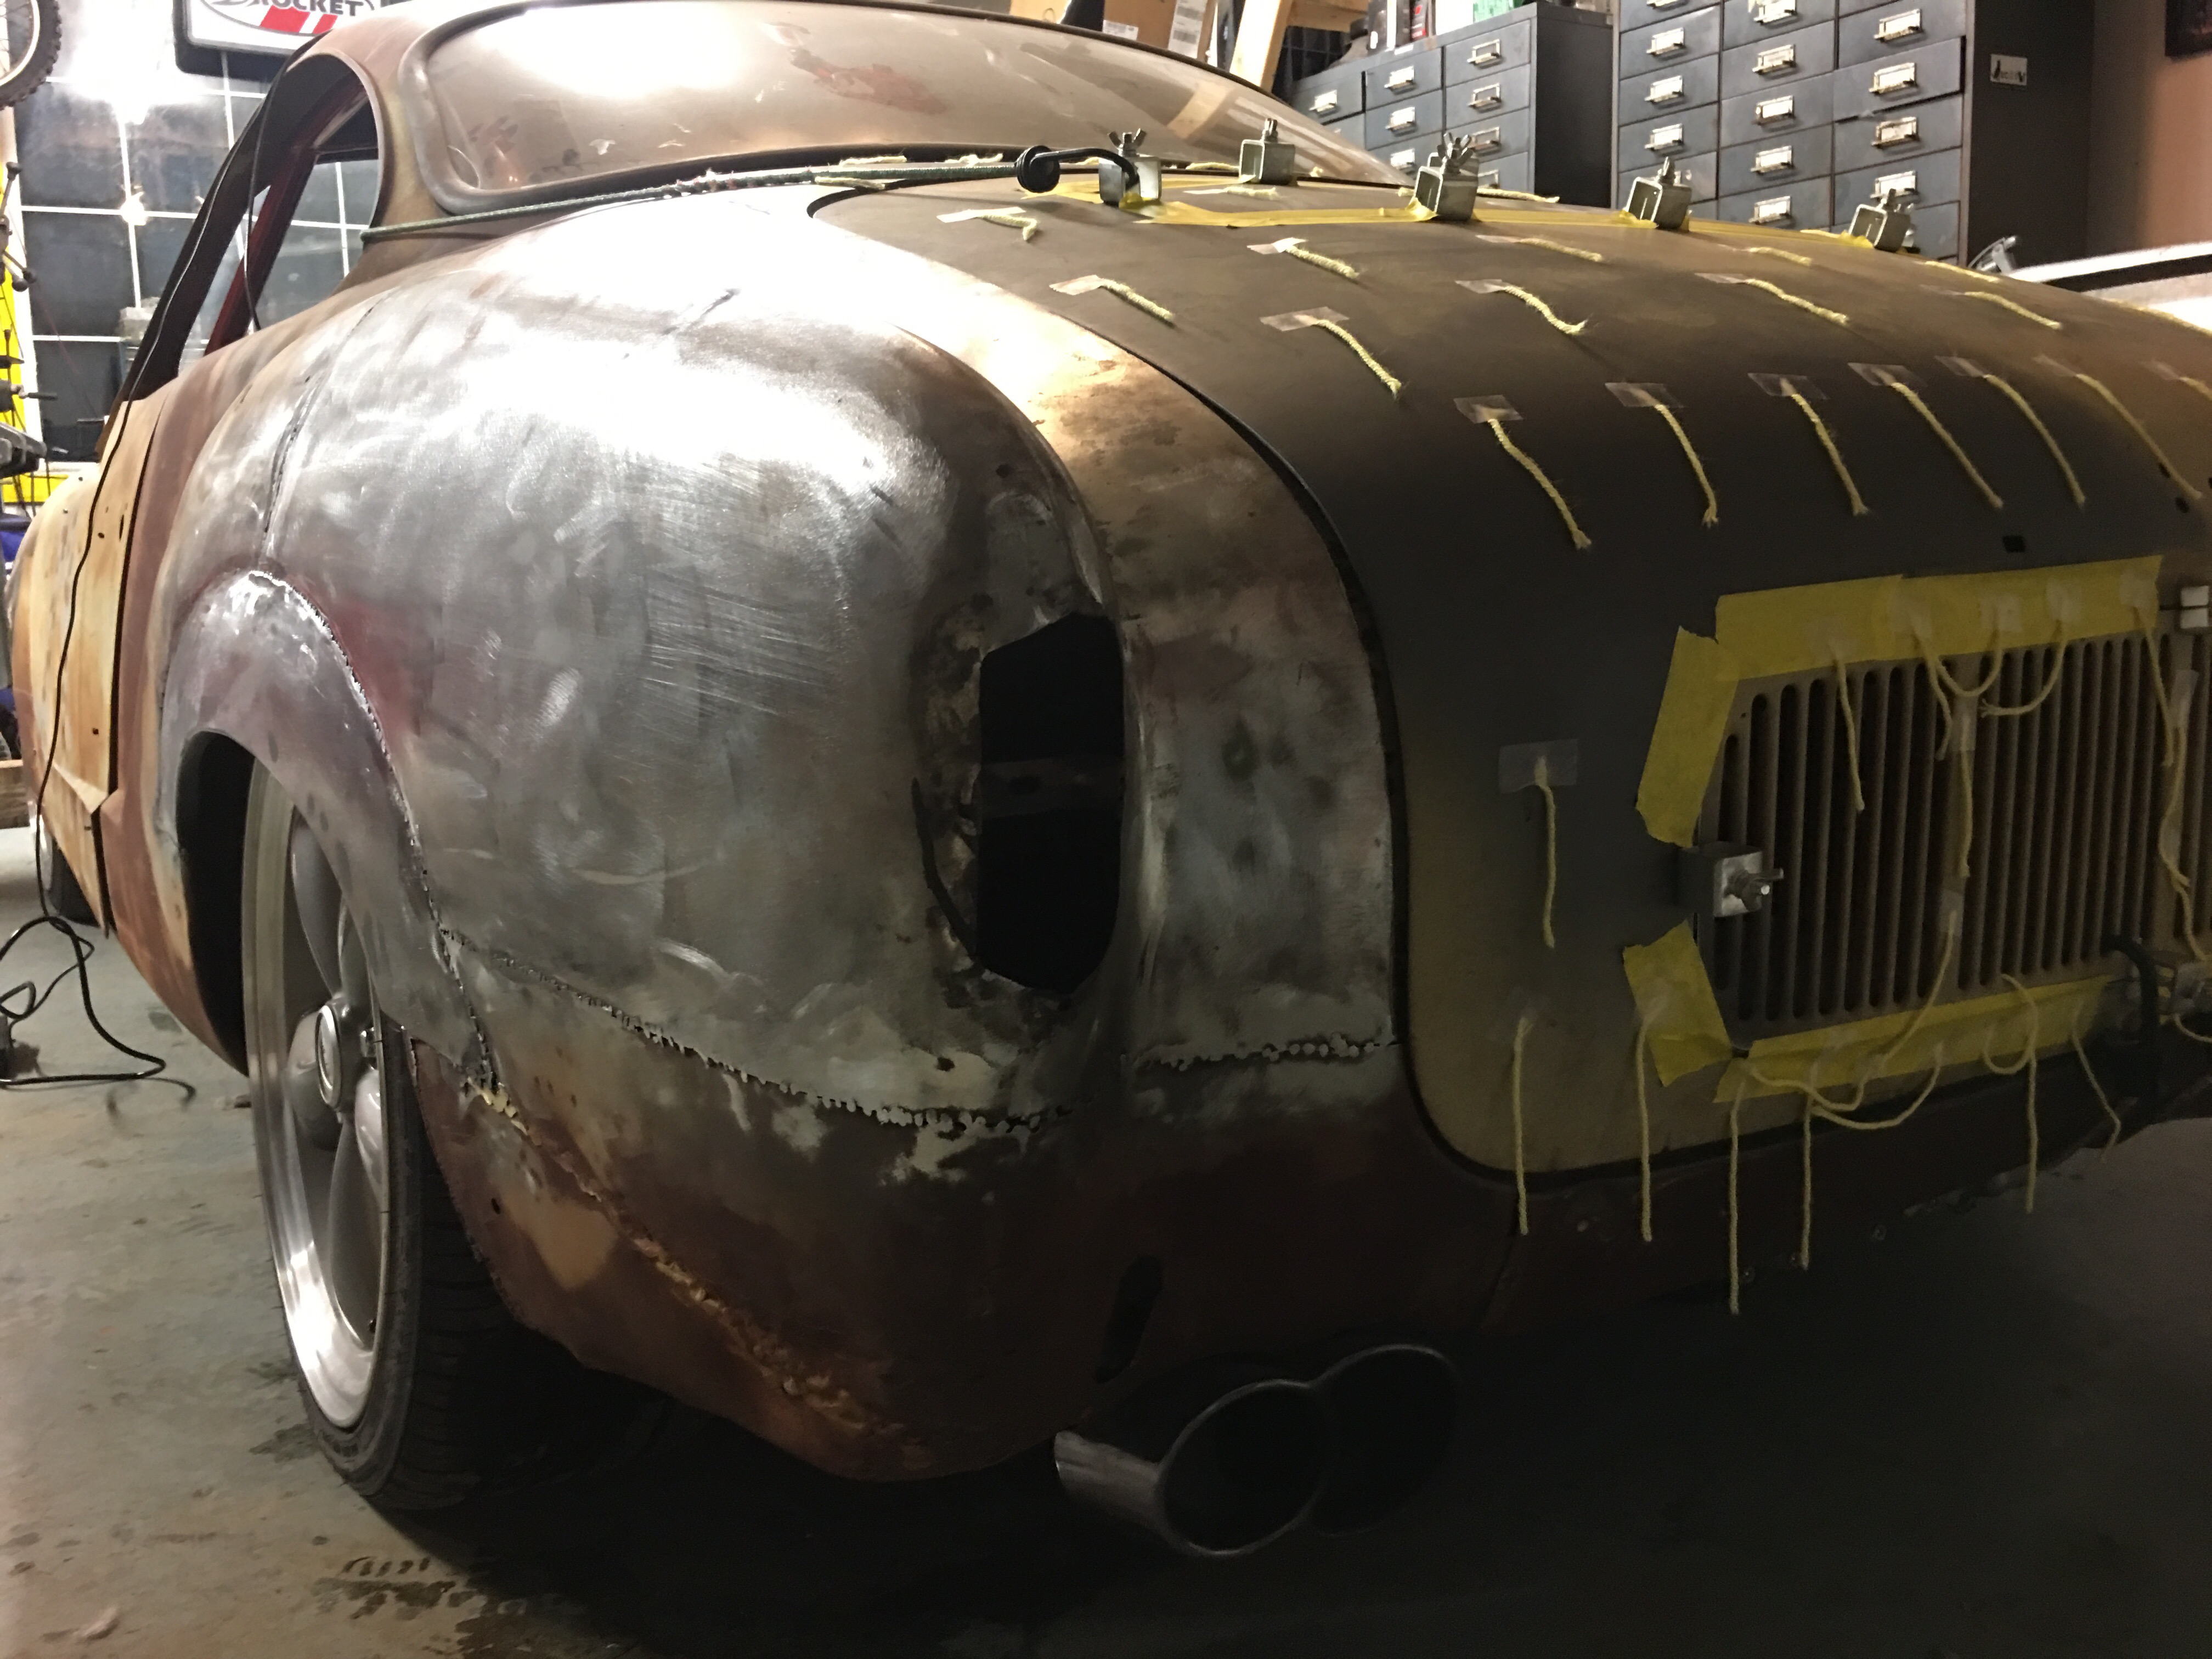
We were going to do the video recording the next day but ran into to some seriously bad news. CJ spotted a unfamiliar vehicle in the woods where we ride dirt bikes and after a quick investigation discovered that some gentlemen had committed suicide in the vehicle. He had been dead for 2-3 days. 911 was called and after the parade of emergency vehicles showed up, our little stretch of country back road testing ground was done for that day.
I wish I could have talked to that guy before this incident – very sad indeed and it took a bit of time to process a discovery like this. Sorry to end on a sad note. If you know of anyone dealing with depression, hard times, life in general, etc please get them help. Suicide hotline resources.
13
Mar
Gauges arrived.
- By basil
- No Comments
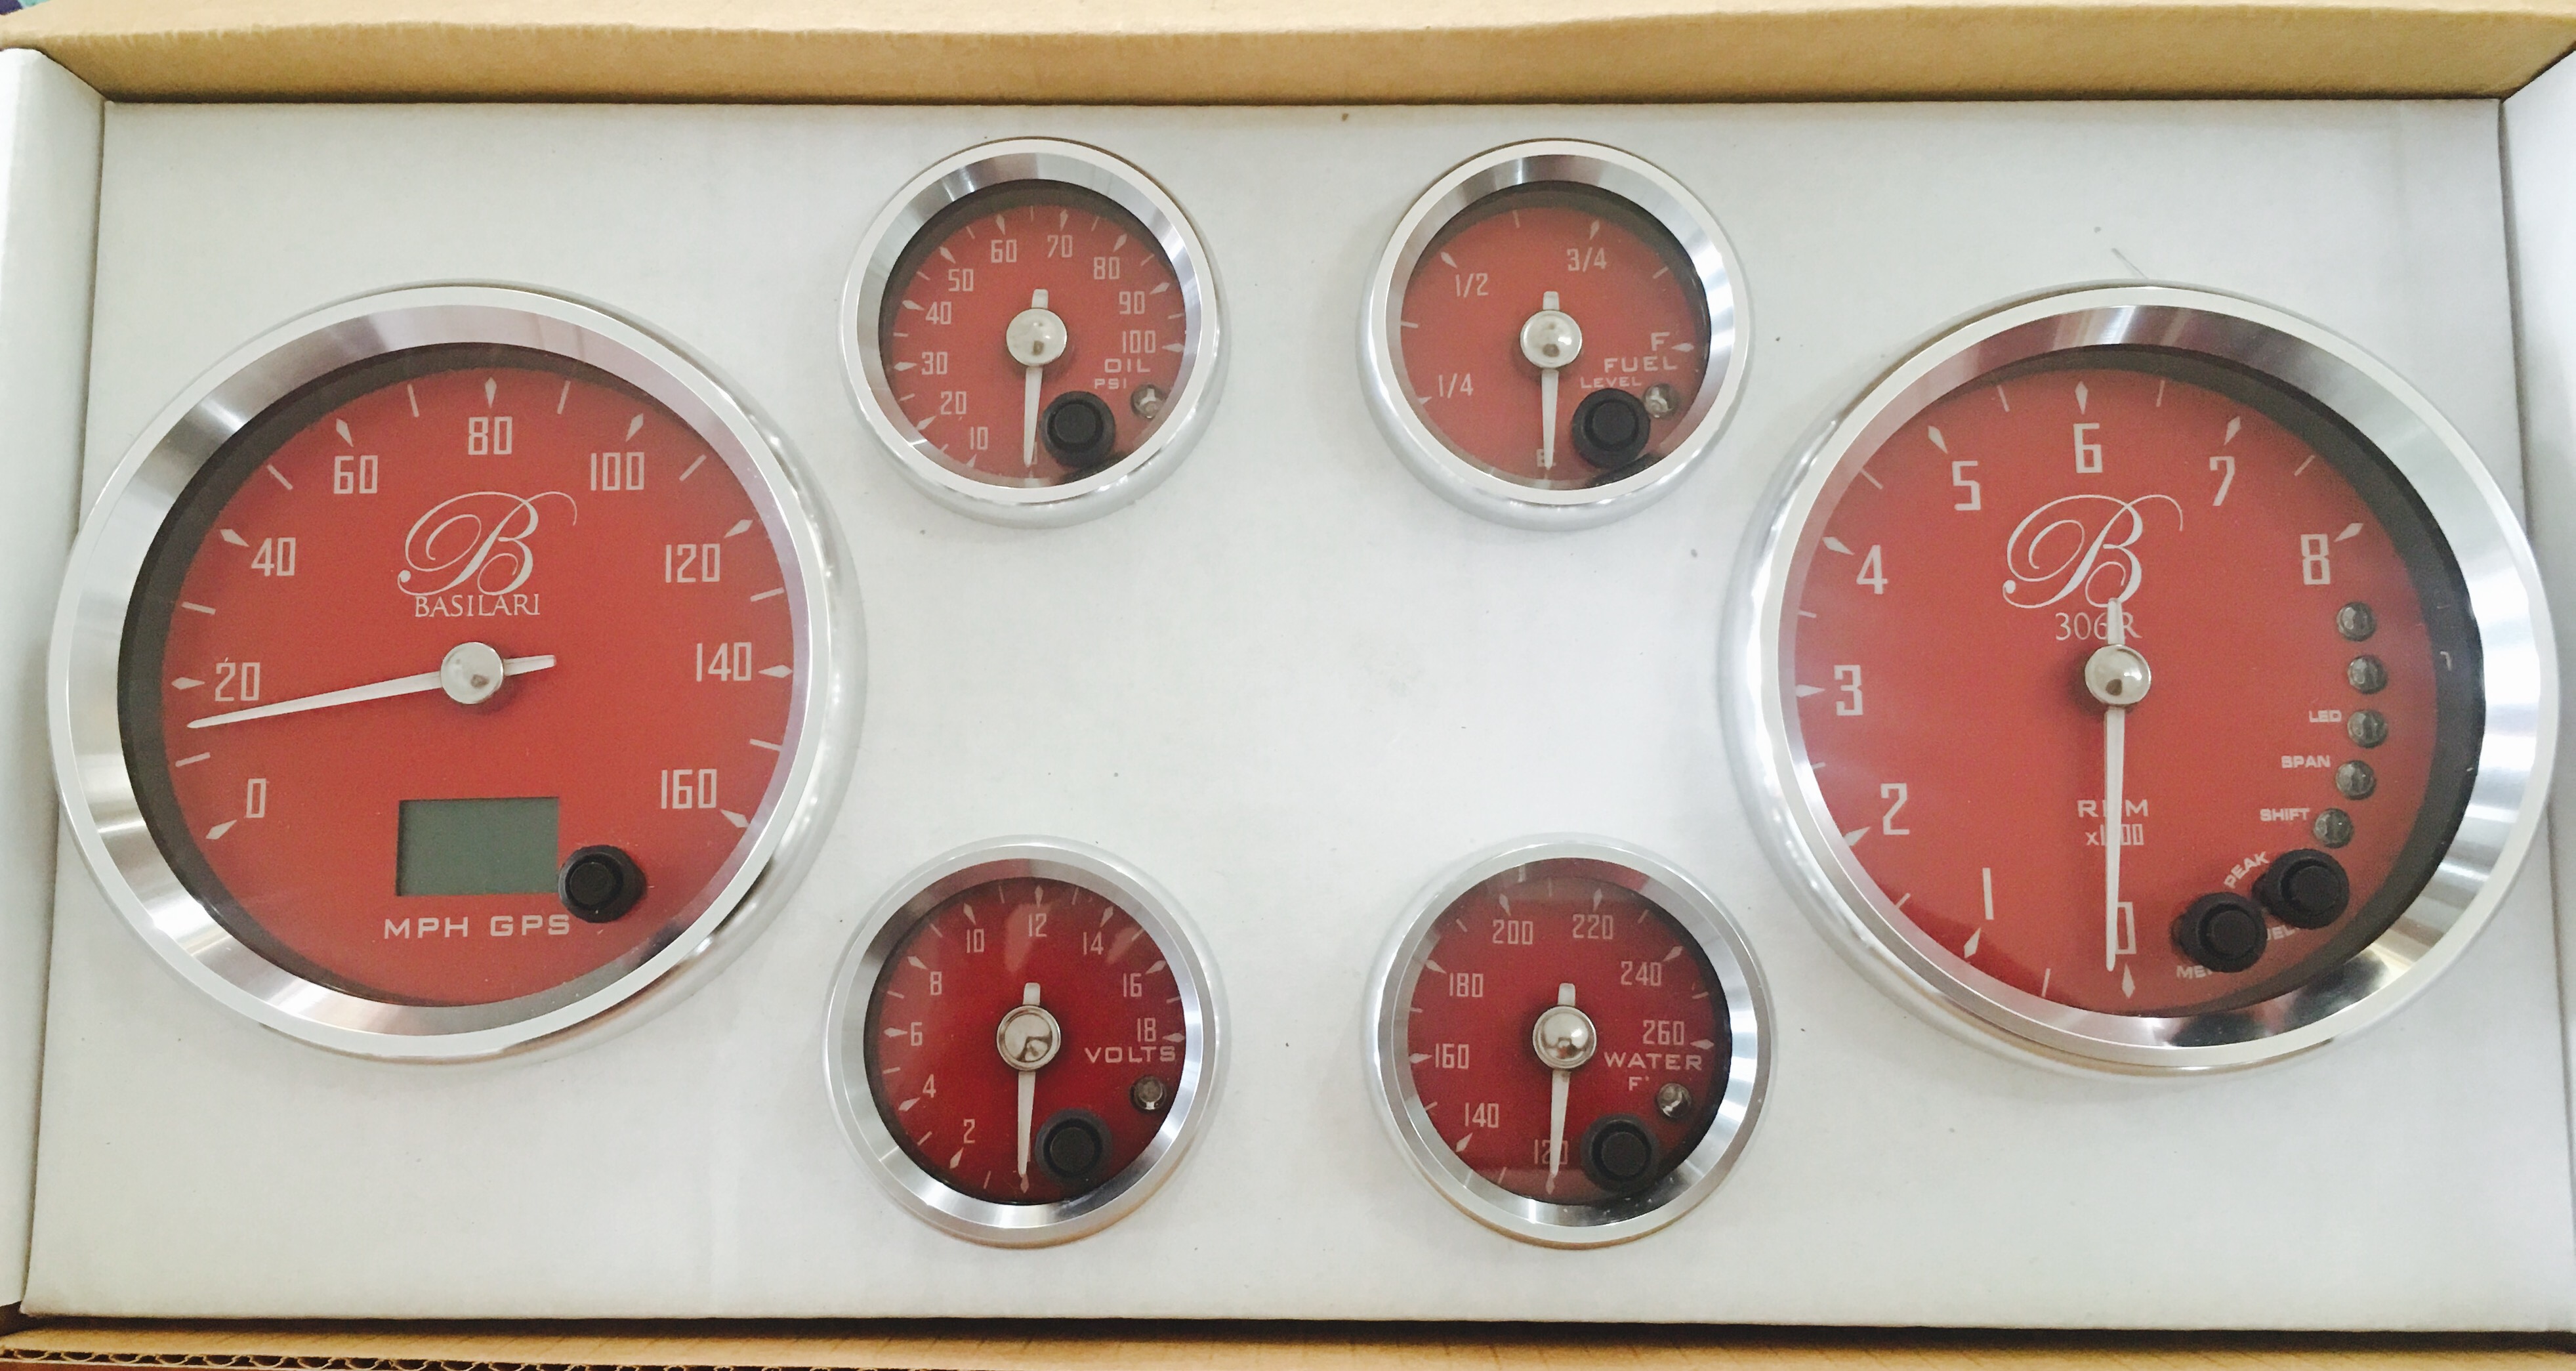
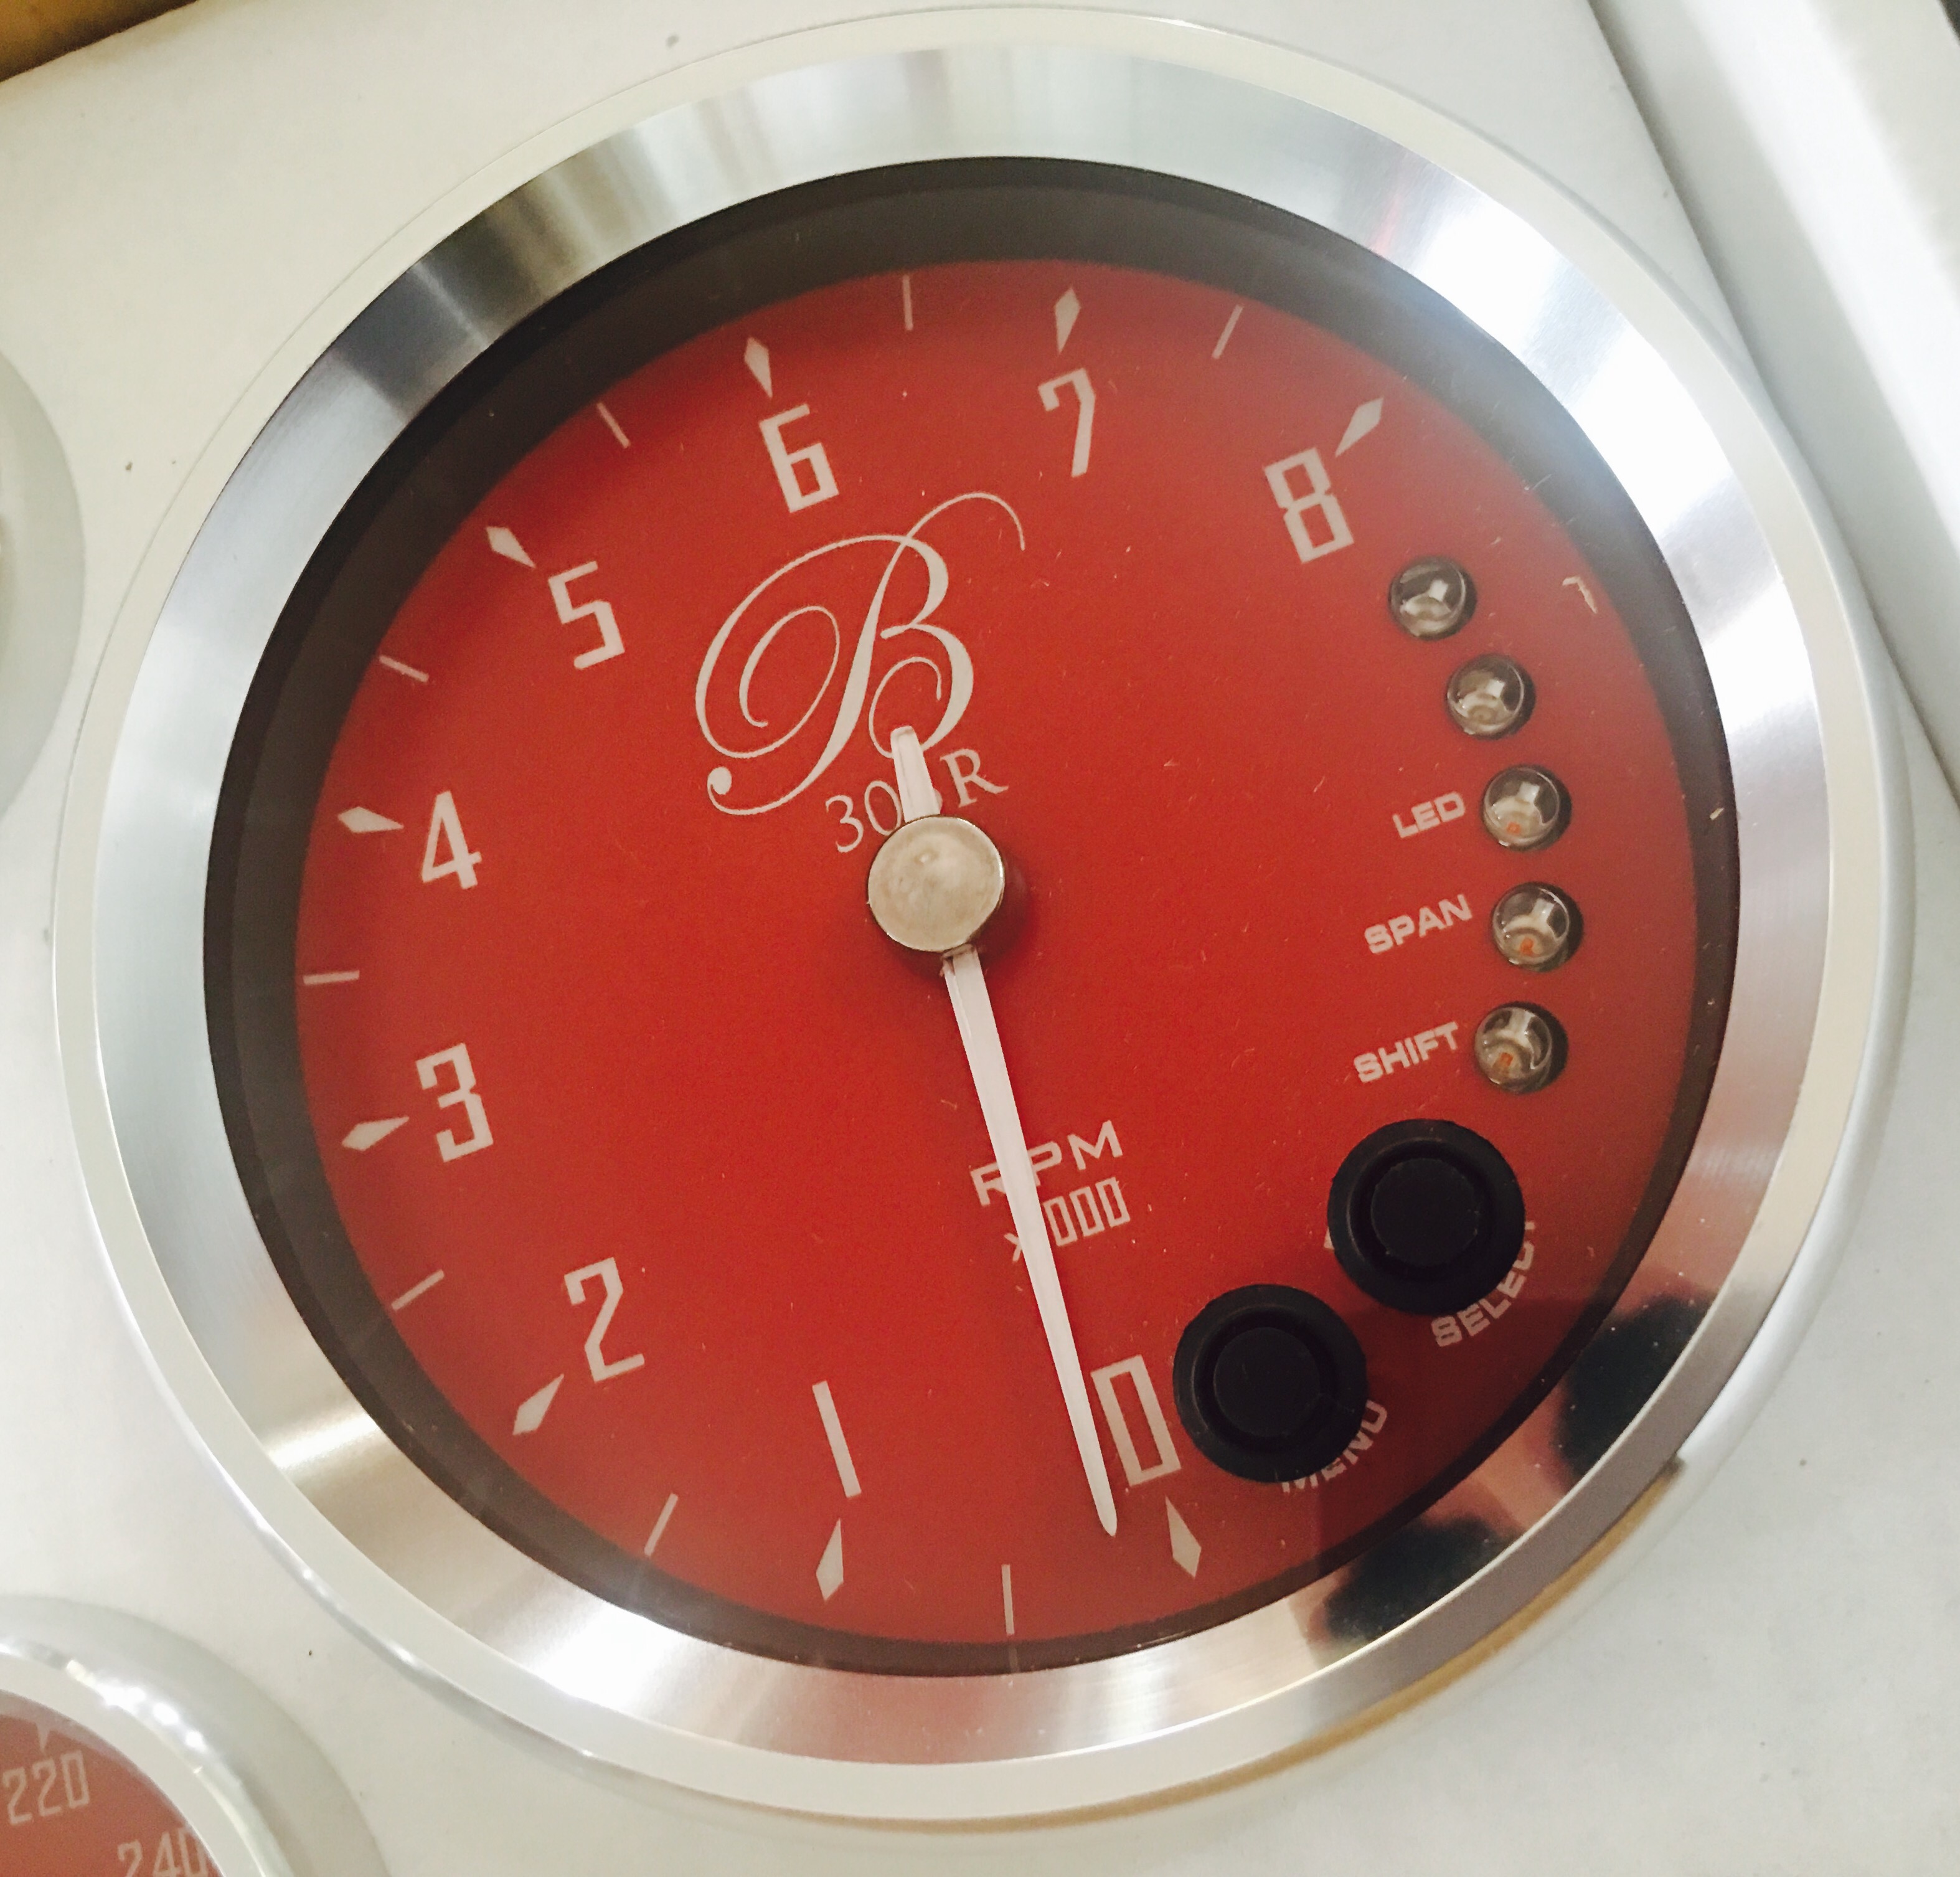
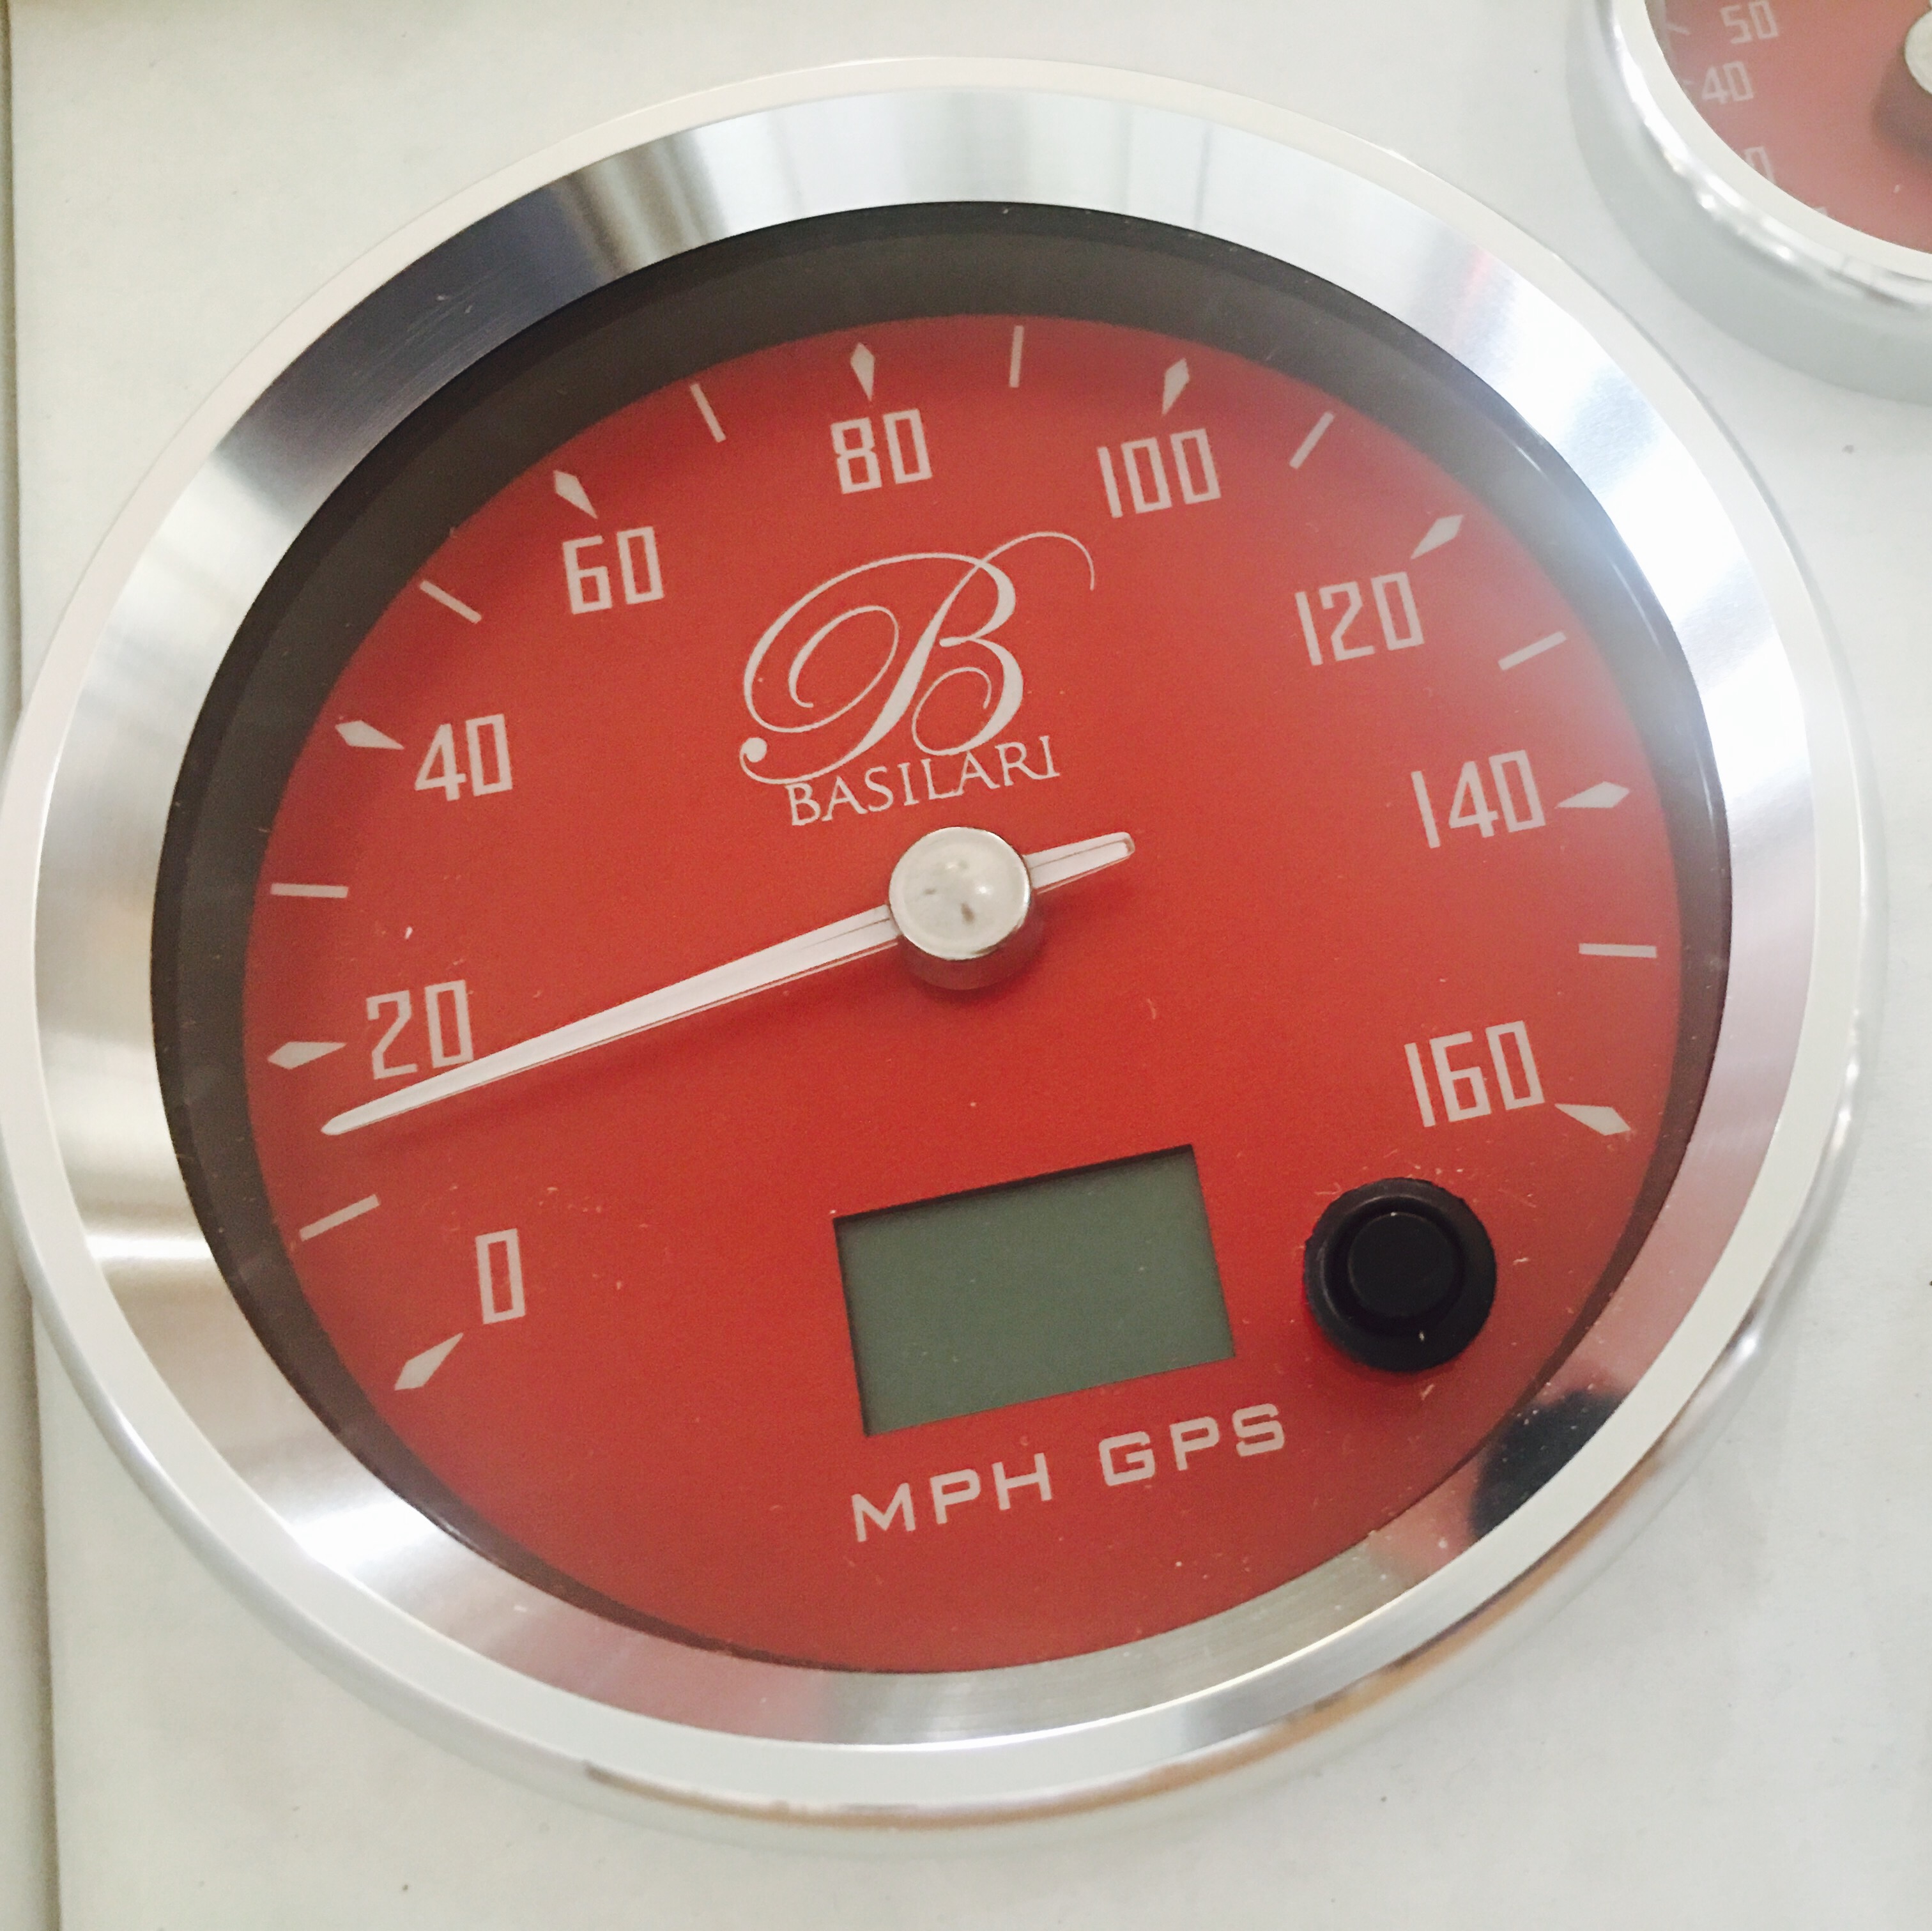
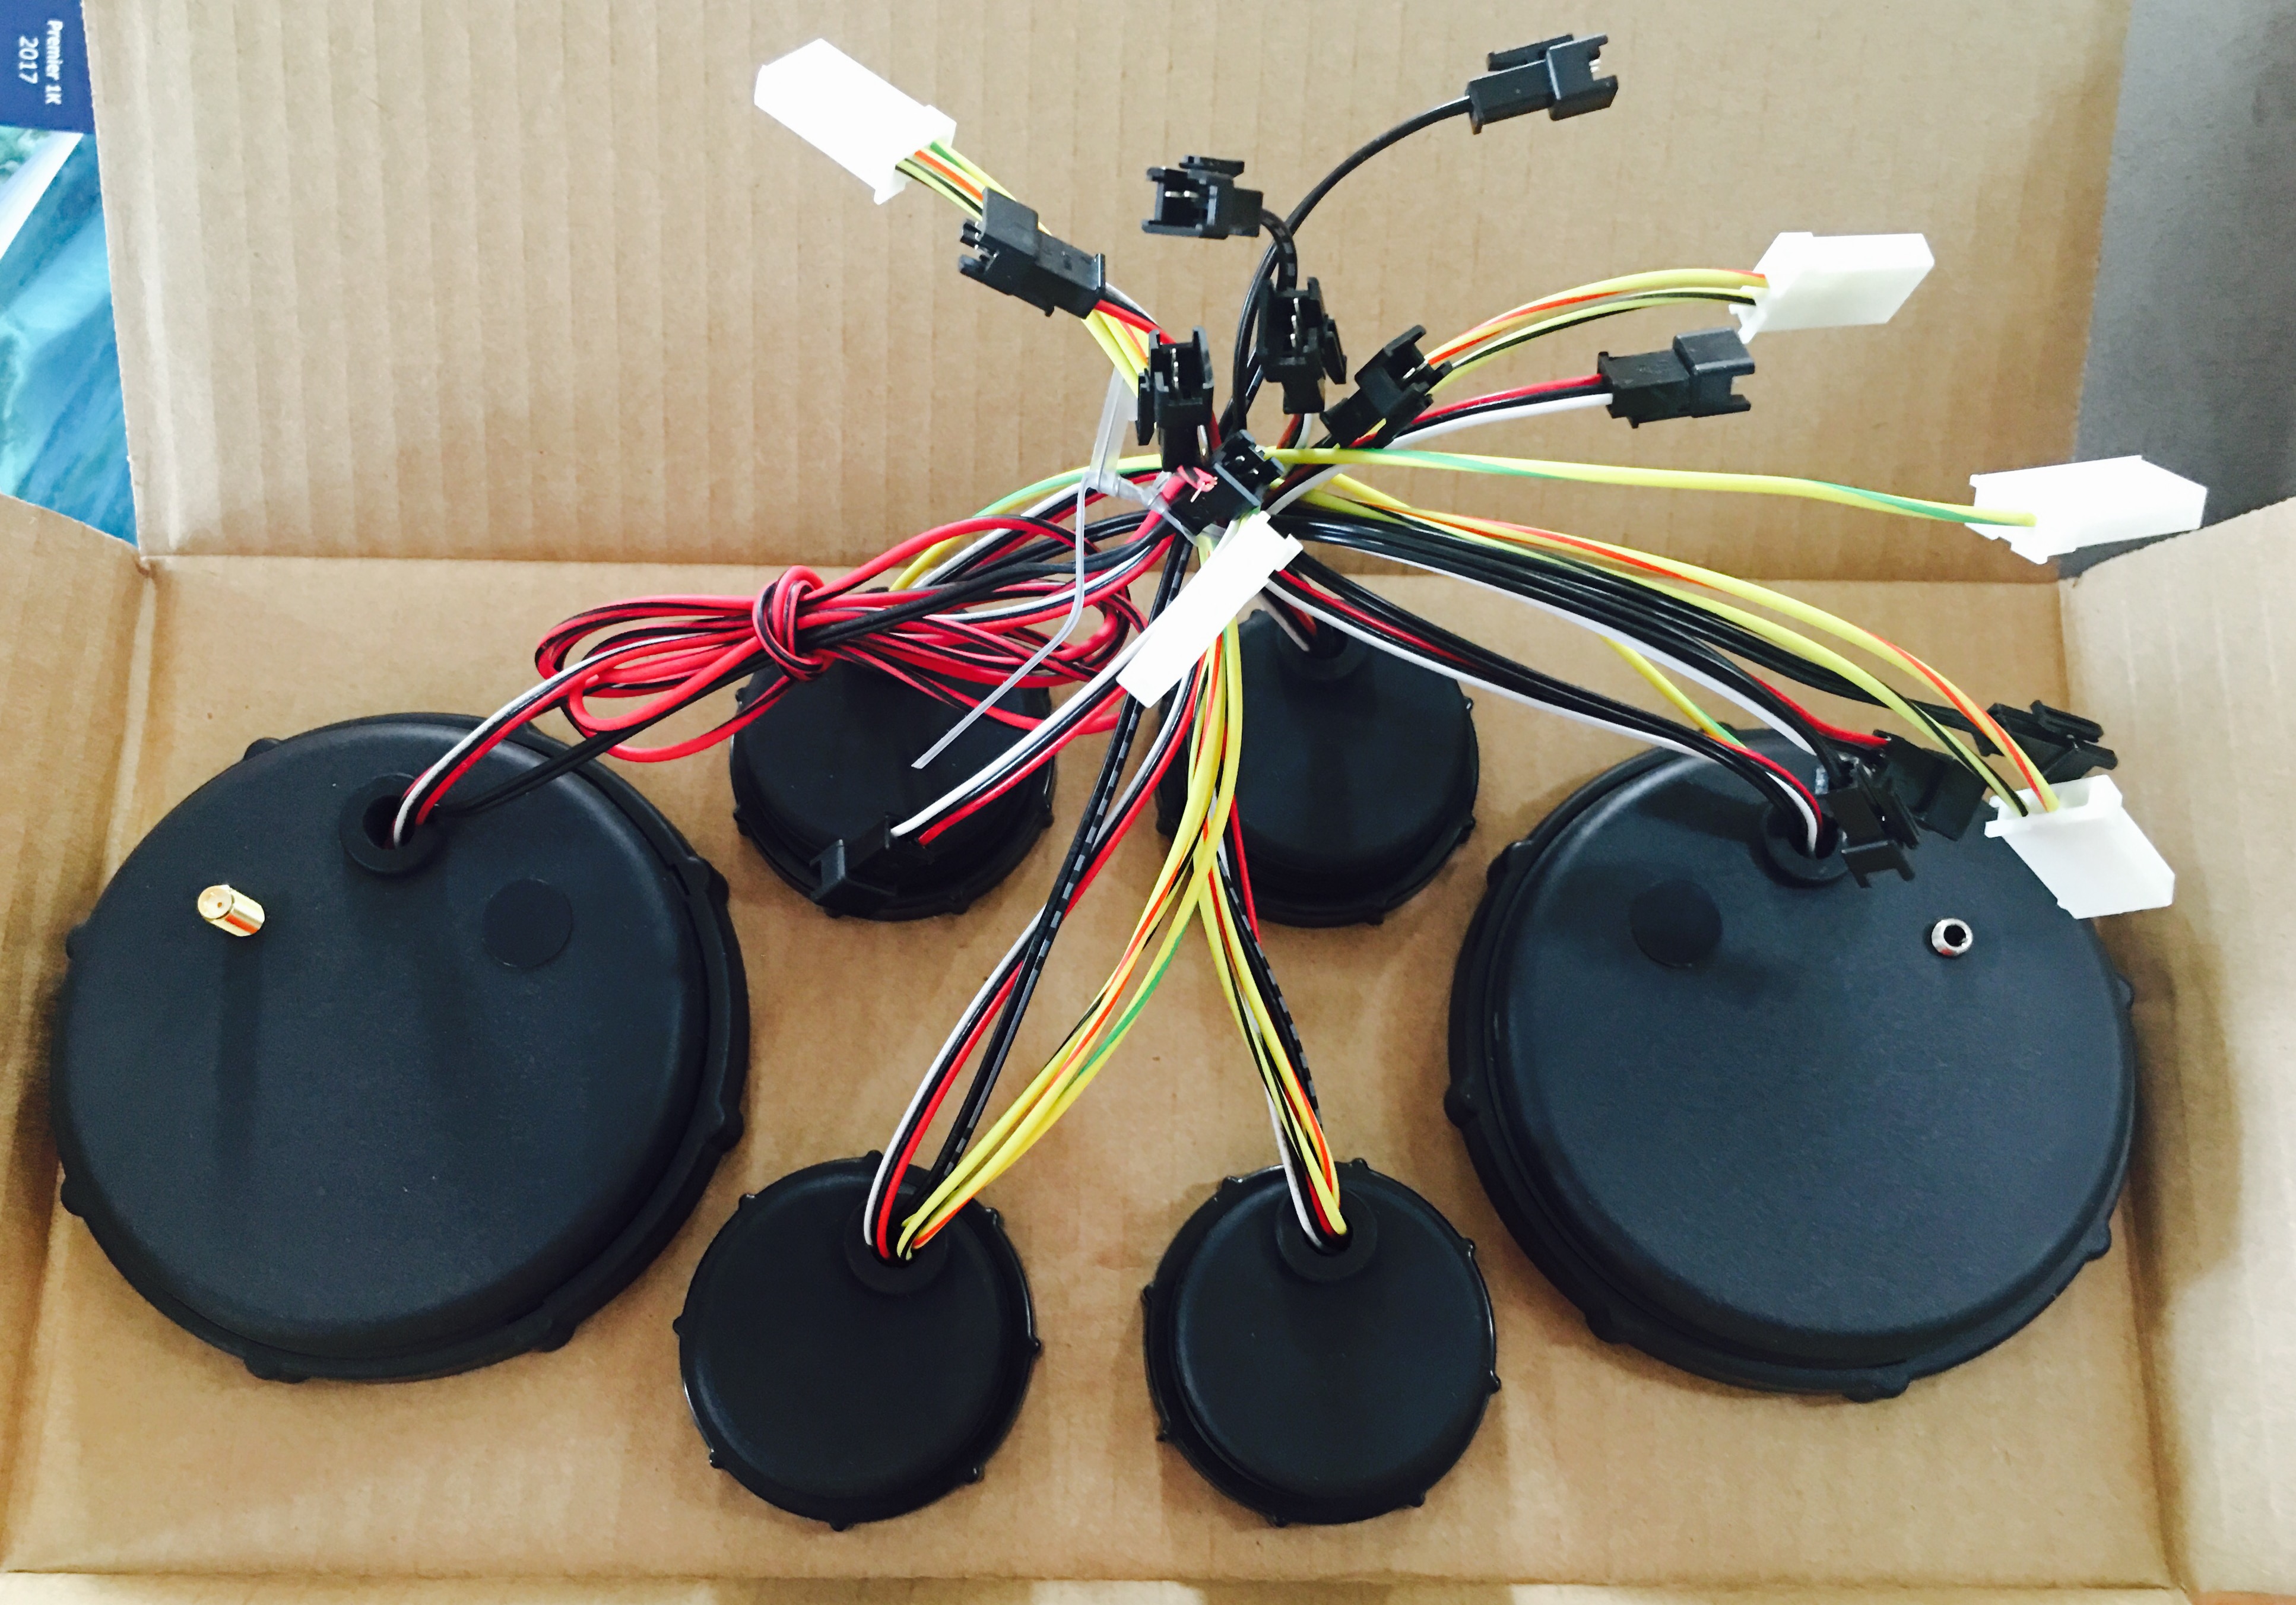
Our custom Speedhut gauges arrived and they look pretty sweet. I must say that this is one of the highlights of this build. Feels like Christmas with all the red!
13
Mar
Pantera, Redline software up and running
- By basil
- No Comments
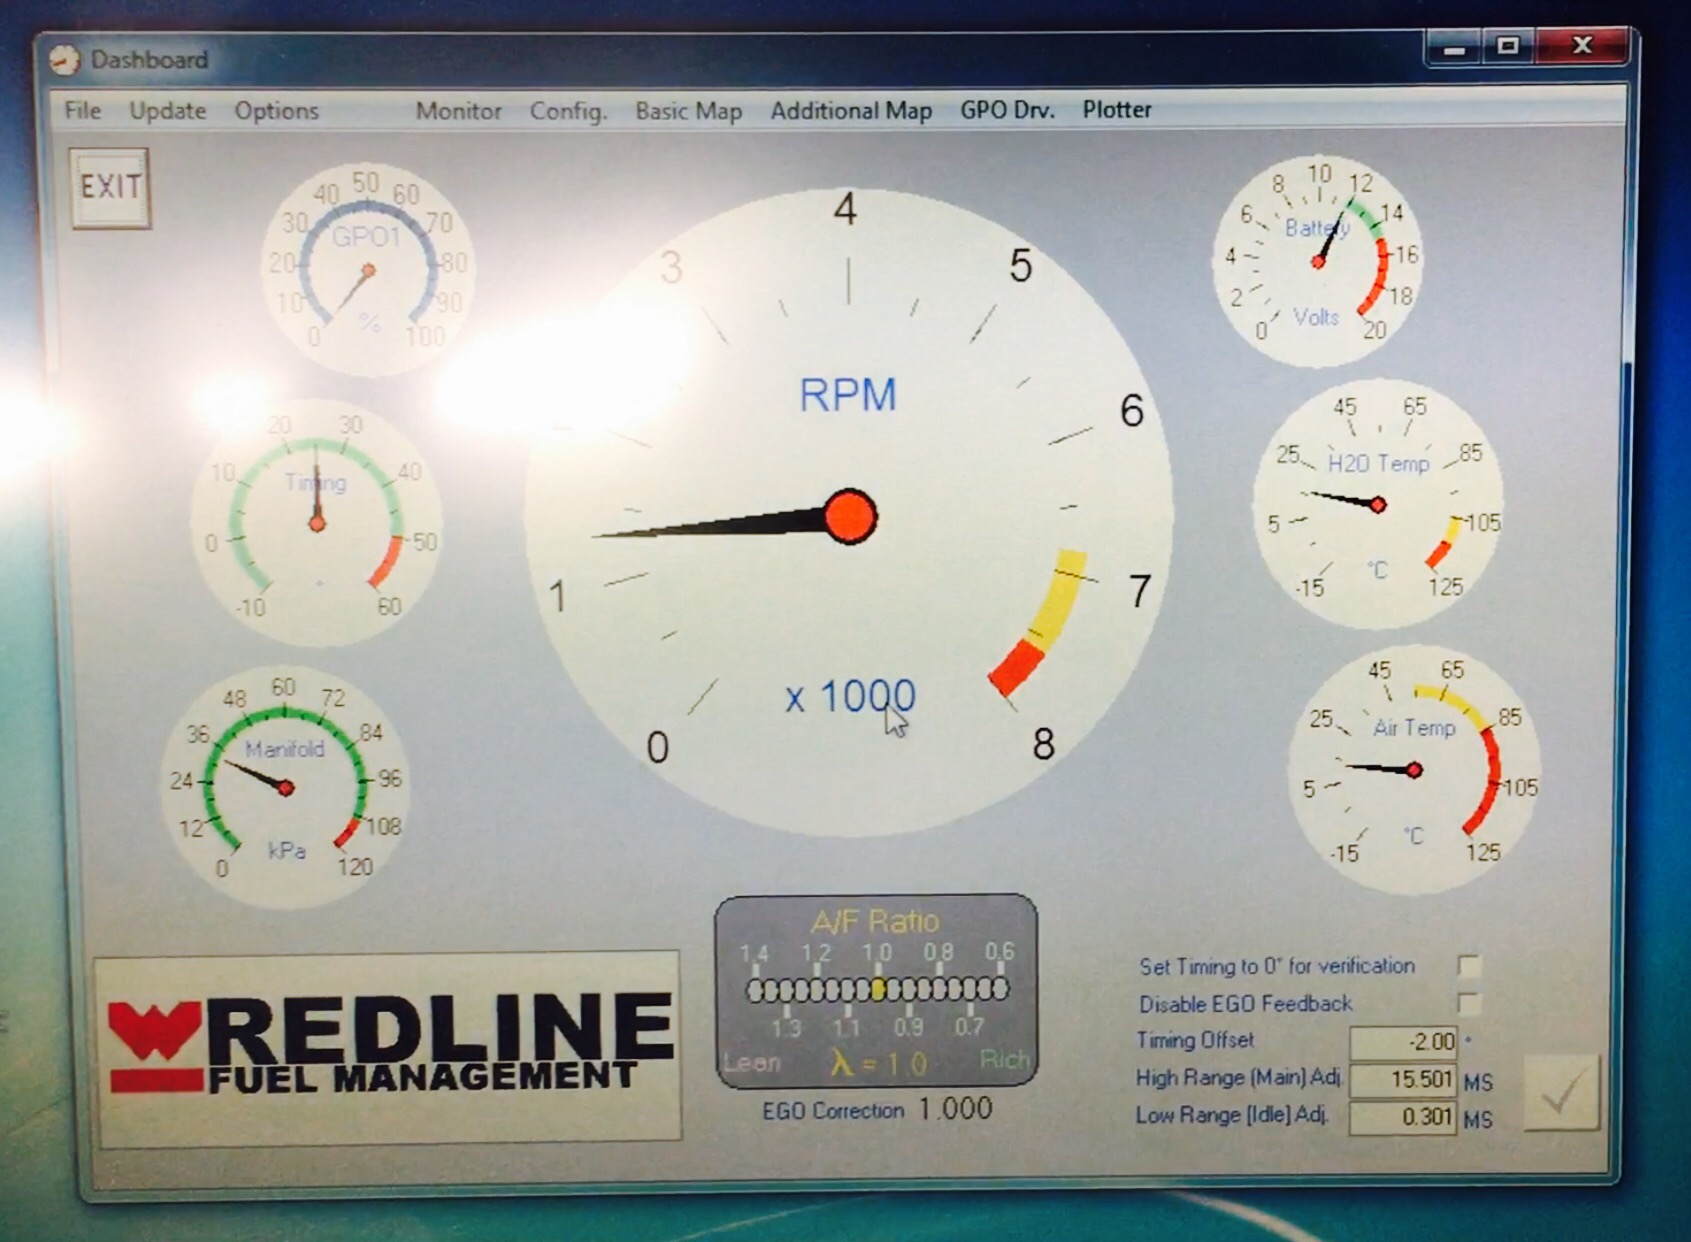
Boom! Got the software that Lance shipped installed and setup to pull data from the Redline ECU. This is another huge step for us. We are now set to go deeper and get the cooling system worked out.
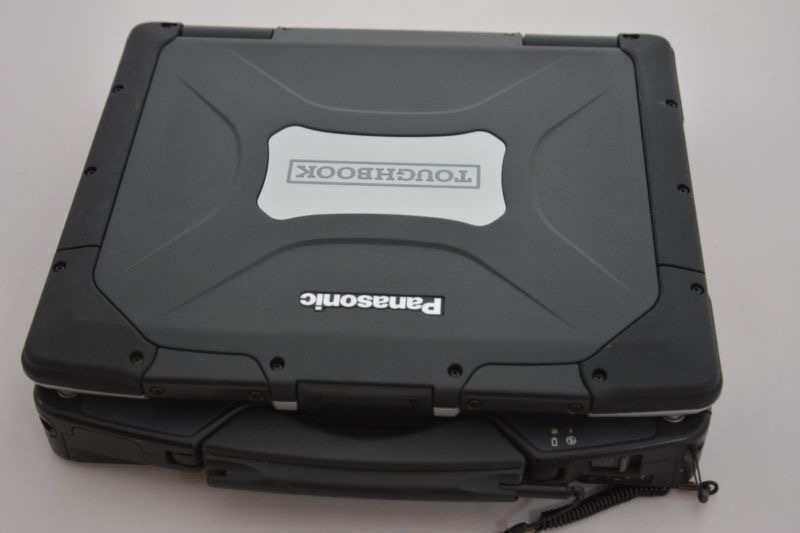
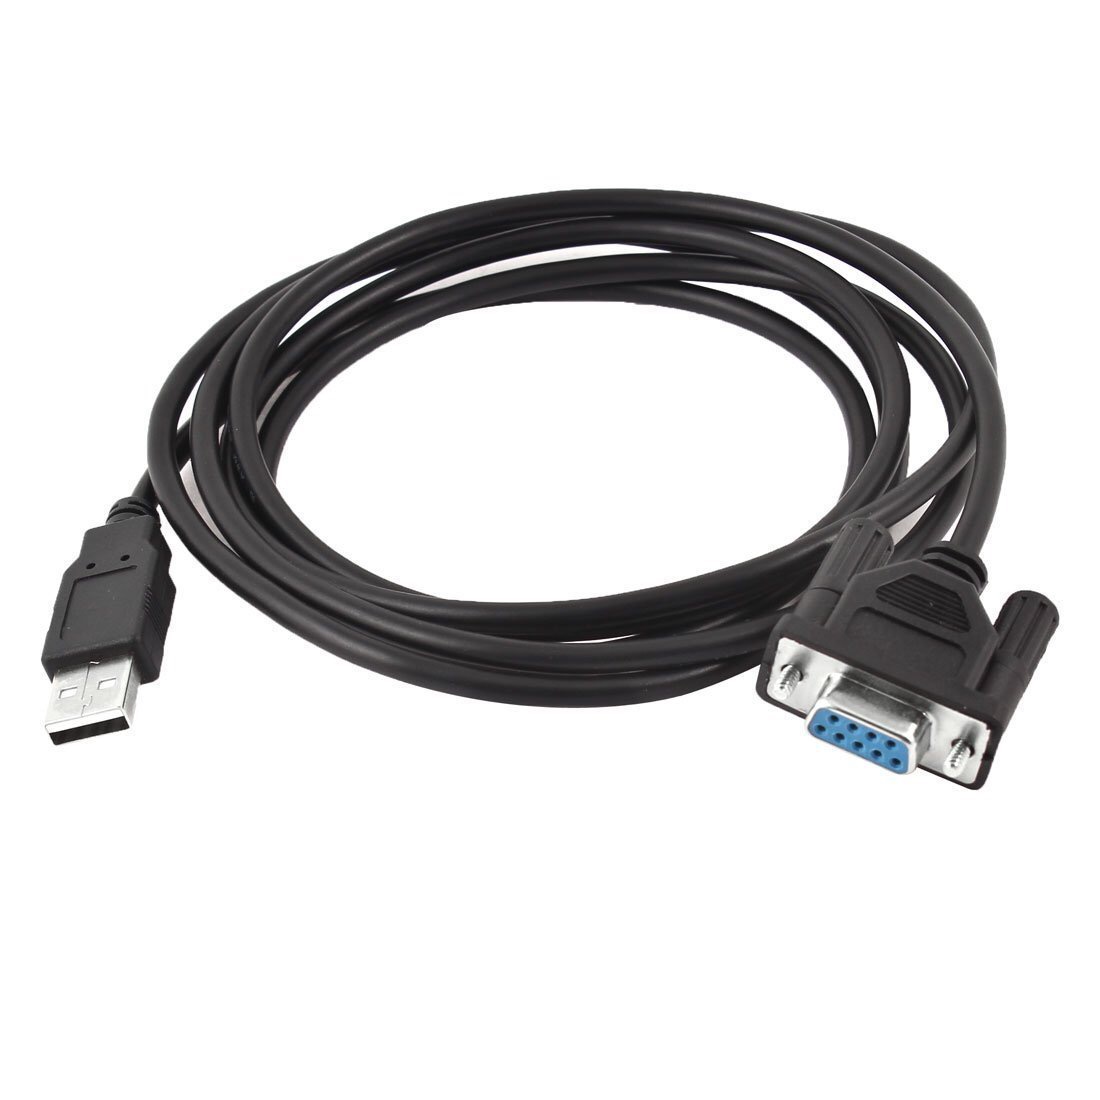
Some time ago we picked up an old ToughBook to use with the car. Lance’s install disk comes with the necessary FTDI drivers to do the USB to serial port setup.
07
Mar
Redline ECU, Scratch that. Pantera EFI ECU!
- By basil
- No Comments
We weren’t successful in getting any of the original software from our first builder nor were we able to get support directly from Redline Weber. The software they have listed on their site (much of which is broken) for our ECU is very, very old and also broken.
Not to be deterred and having considerable LMGTFY skills, we found others in a similar situation looking for software updates and support for the Redline ECU family. We saw that the Redline units look to be the same as the Pantera EFI units. The “Pantera ECU 882C” follows the same naming convention as the Redline series (see ECU R882 references). We also found another company called 034 Motorsport selling a similar ECU.
After we dug deeper, it turns out that the Redline and 034 units are rebranded Pantera EFI systems.
For anyone else out there in a similar situation, we’ve compiled a detailed summary of what we’ve found:
-
Pantera EFI
The original equipment manufacturer (OEM) for both 034 and Redline Weber. The source. Not only the source, but the wizard behind the curtain available to help you!
If you are looking for a performant (yes, that is a word now because we computer geeks made it up!) ECU, we highly suggest the Pantera ECU 882C. The 034EFI system has been discontinued and can be supported by the folks at Pantera.
After a post on the efi101.com site, we got a reply from Lance over at Pantera who has graciously offered to update our ECU and provide the latest software. We made phone contact with Lance and had the latest software shipped to us so that we could begin tuning the mighty EZ30R.
Resources:
- Pantera 882C standalone ECU
- Join us on the Pantera/Redline ECU forum at EFI101.com
-
 Finding 034Motorsport was revealing. Looks like a great shop dealing with Audi and VW! The were selling an ECU called the 034EFI which was EOL’d (end of life’d) September 2016 according to a page on their site. Even though we found this, we were enthused to know that there are quite a few of these “882” units out in the wild. 034Motorsport apparently sold them for 15 years!
Do it yourself support is still somewhat available. Here are some 340EFI resources:
-
From what we gathered on various forums, it looks like Redline picked up the Pantera EFI as an ECU to resale to the VW market. We didn’t get a call back from our voicemail or email and others have expressed frustration with similar experiences.
Unfortunately, the software as displayed on the site is very old and broken so there is not much help there. Nothing more to be said really.
Resources:
- Fuel Injection Software and Instructions (warning, software is old and broken)
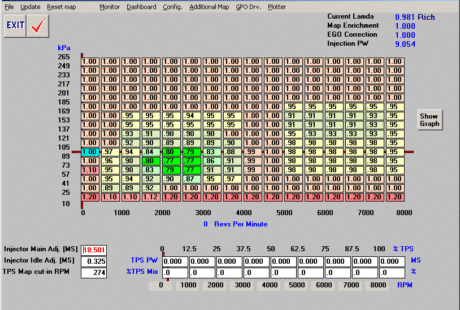
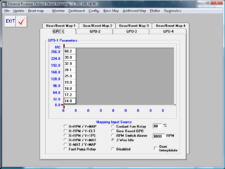
Software screen shots:
18
Jan
Running again.
- By basil
- No Comments
After the fuel tank cleanup, replaced injectors, and sending unit mods, she’s back running.
Next is to get some road testing under our belt for the cooling system.
15
Jan
Fuel injectors are expensive!
- By basil
- No Comments
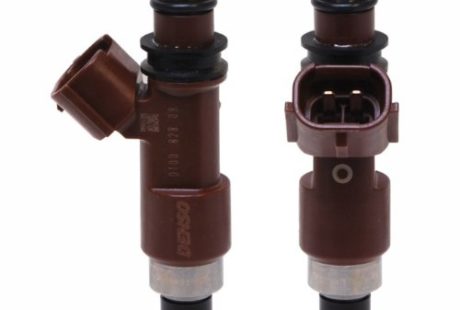
Getting started with clearing up the fuel system. First up, new injectors. For folks considering the Redline Engine Management system, the injector connectors supplied with the harness will require you to grind down the nubs on the injectors to fit properly.
They have been installed and we have the car running again!
05
Jan
Determining the year of JDM Subaru engines
- By basil
- 2 Comments
If you are doing a Subaru conversion (Subaru engine into a VW), you’ll see many Japanese Domestic Market (JDM) engines available. Many times these engines will be listed as a range.
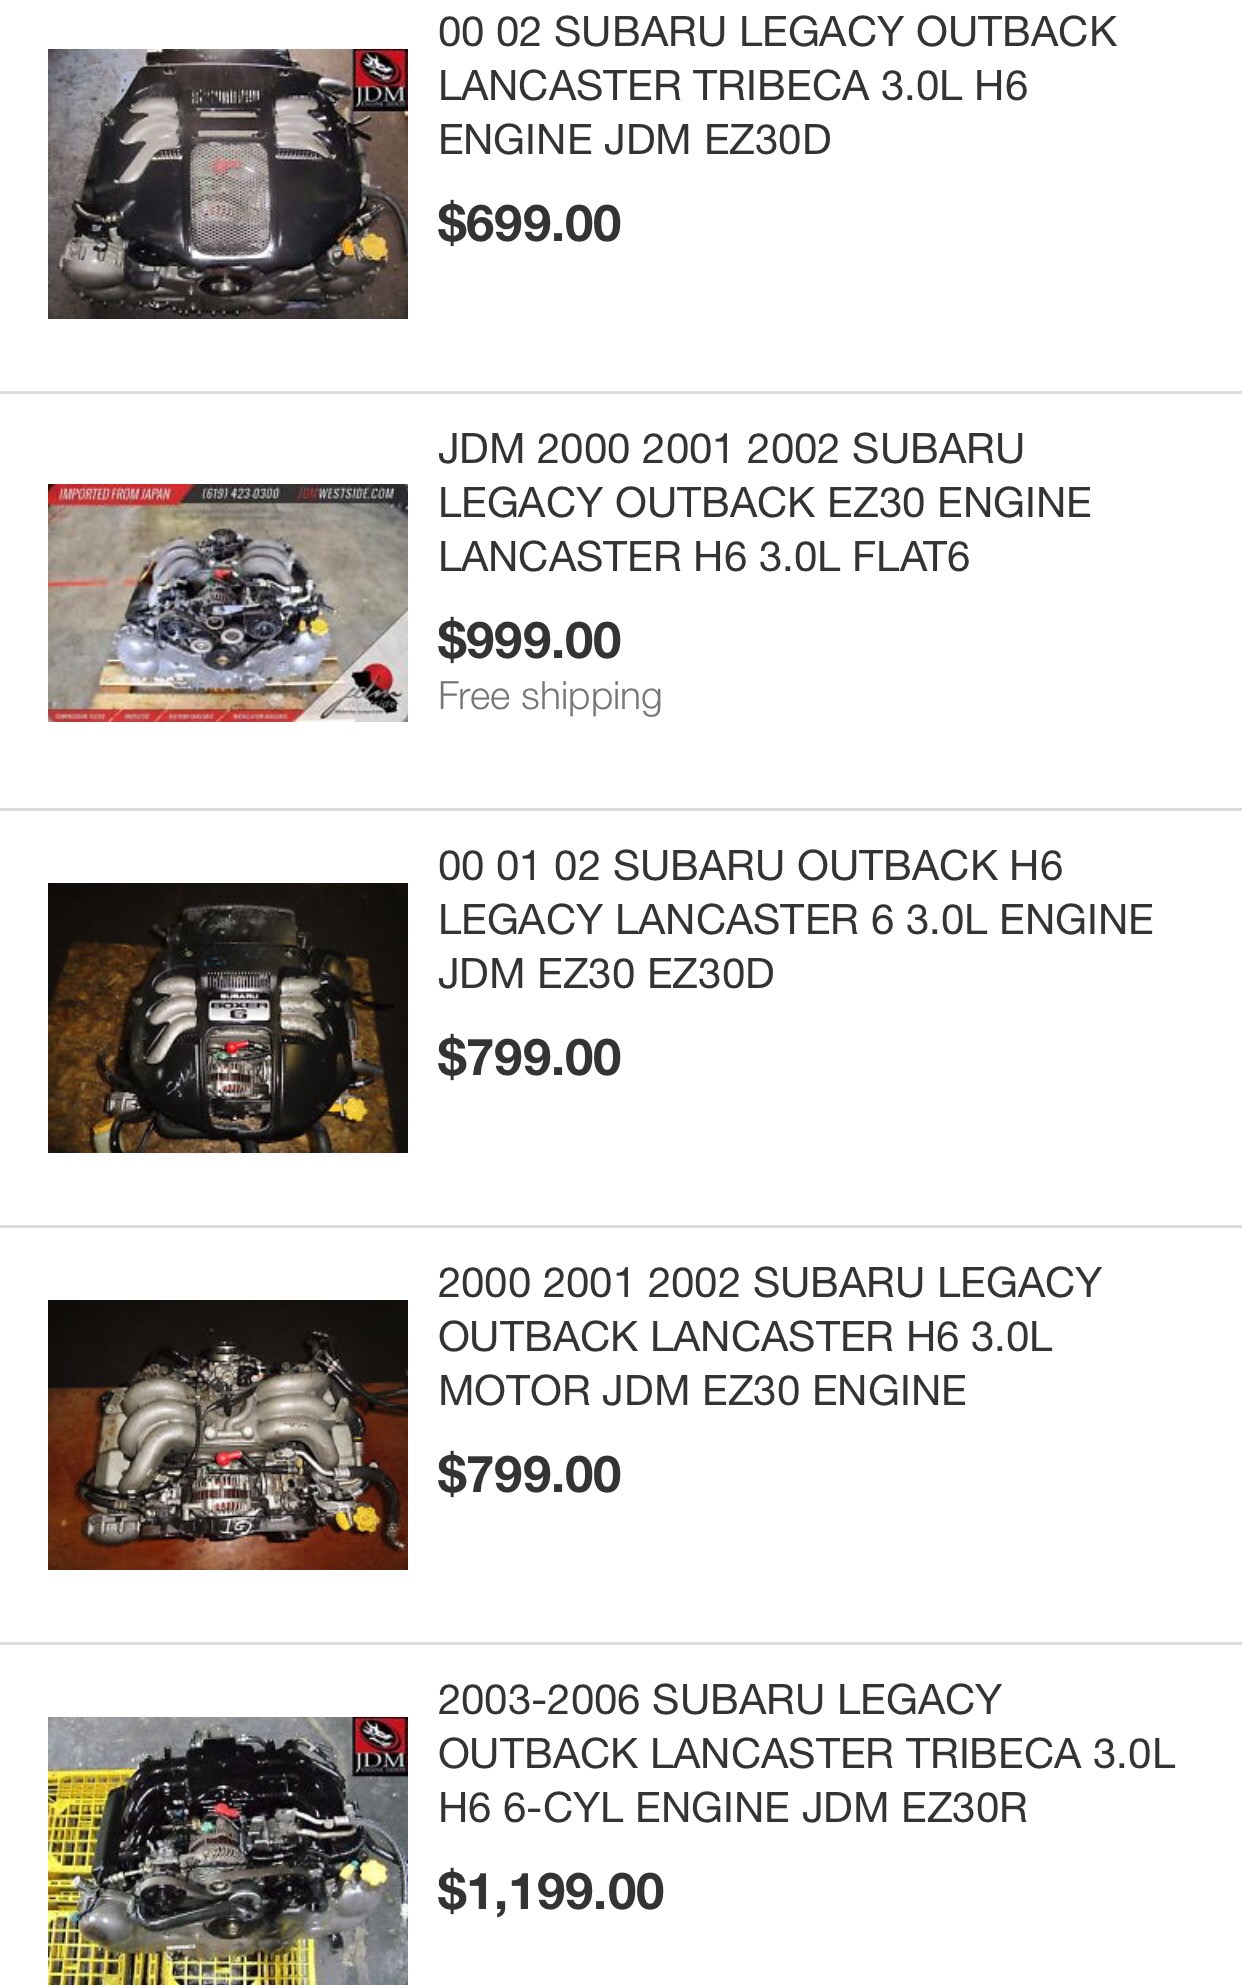
Here are some EZ30 engines on eBay as an example:
So if you look at the listings above some will have a date range for that model engine. The last listing shows an EZ30R with date range 2003-2006. So if you are interested in that particular engine how do you tell what year it is? From what I’ve found there are no year markings on the case, for example.
Some time ago I ran across an obscure forum entry that said Subaru prints the build month and year on the inside of the oil cap!
So lo and behold, I checked the inside of our EZ30R’s cap and it shows:
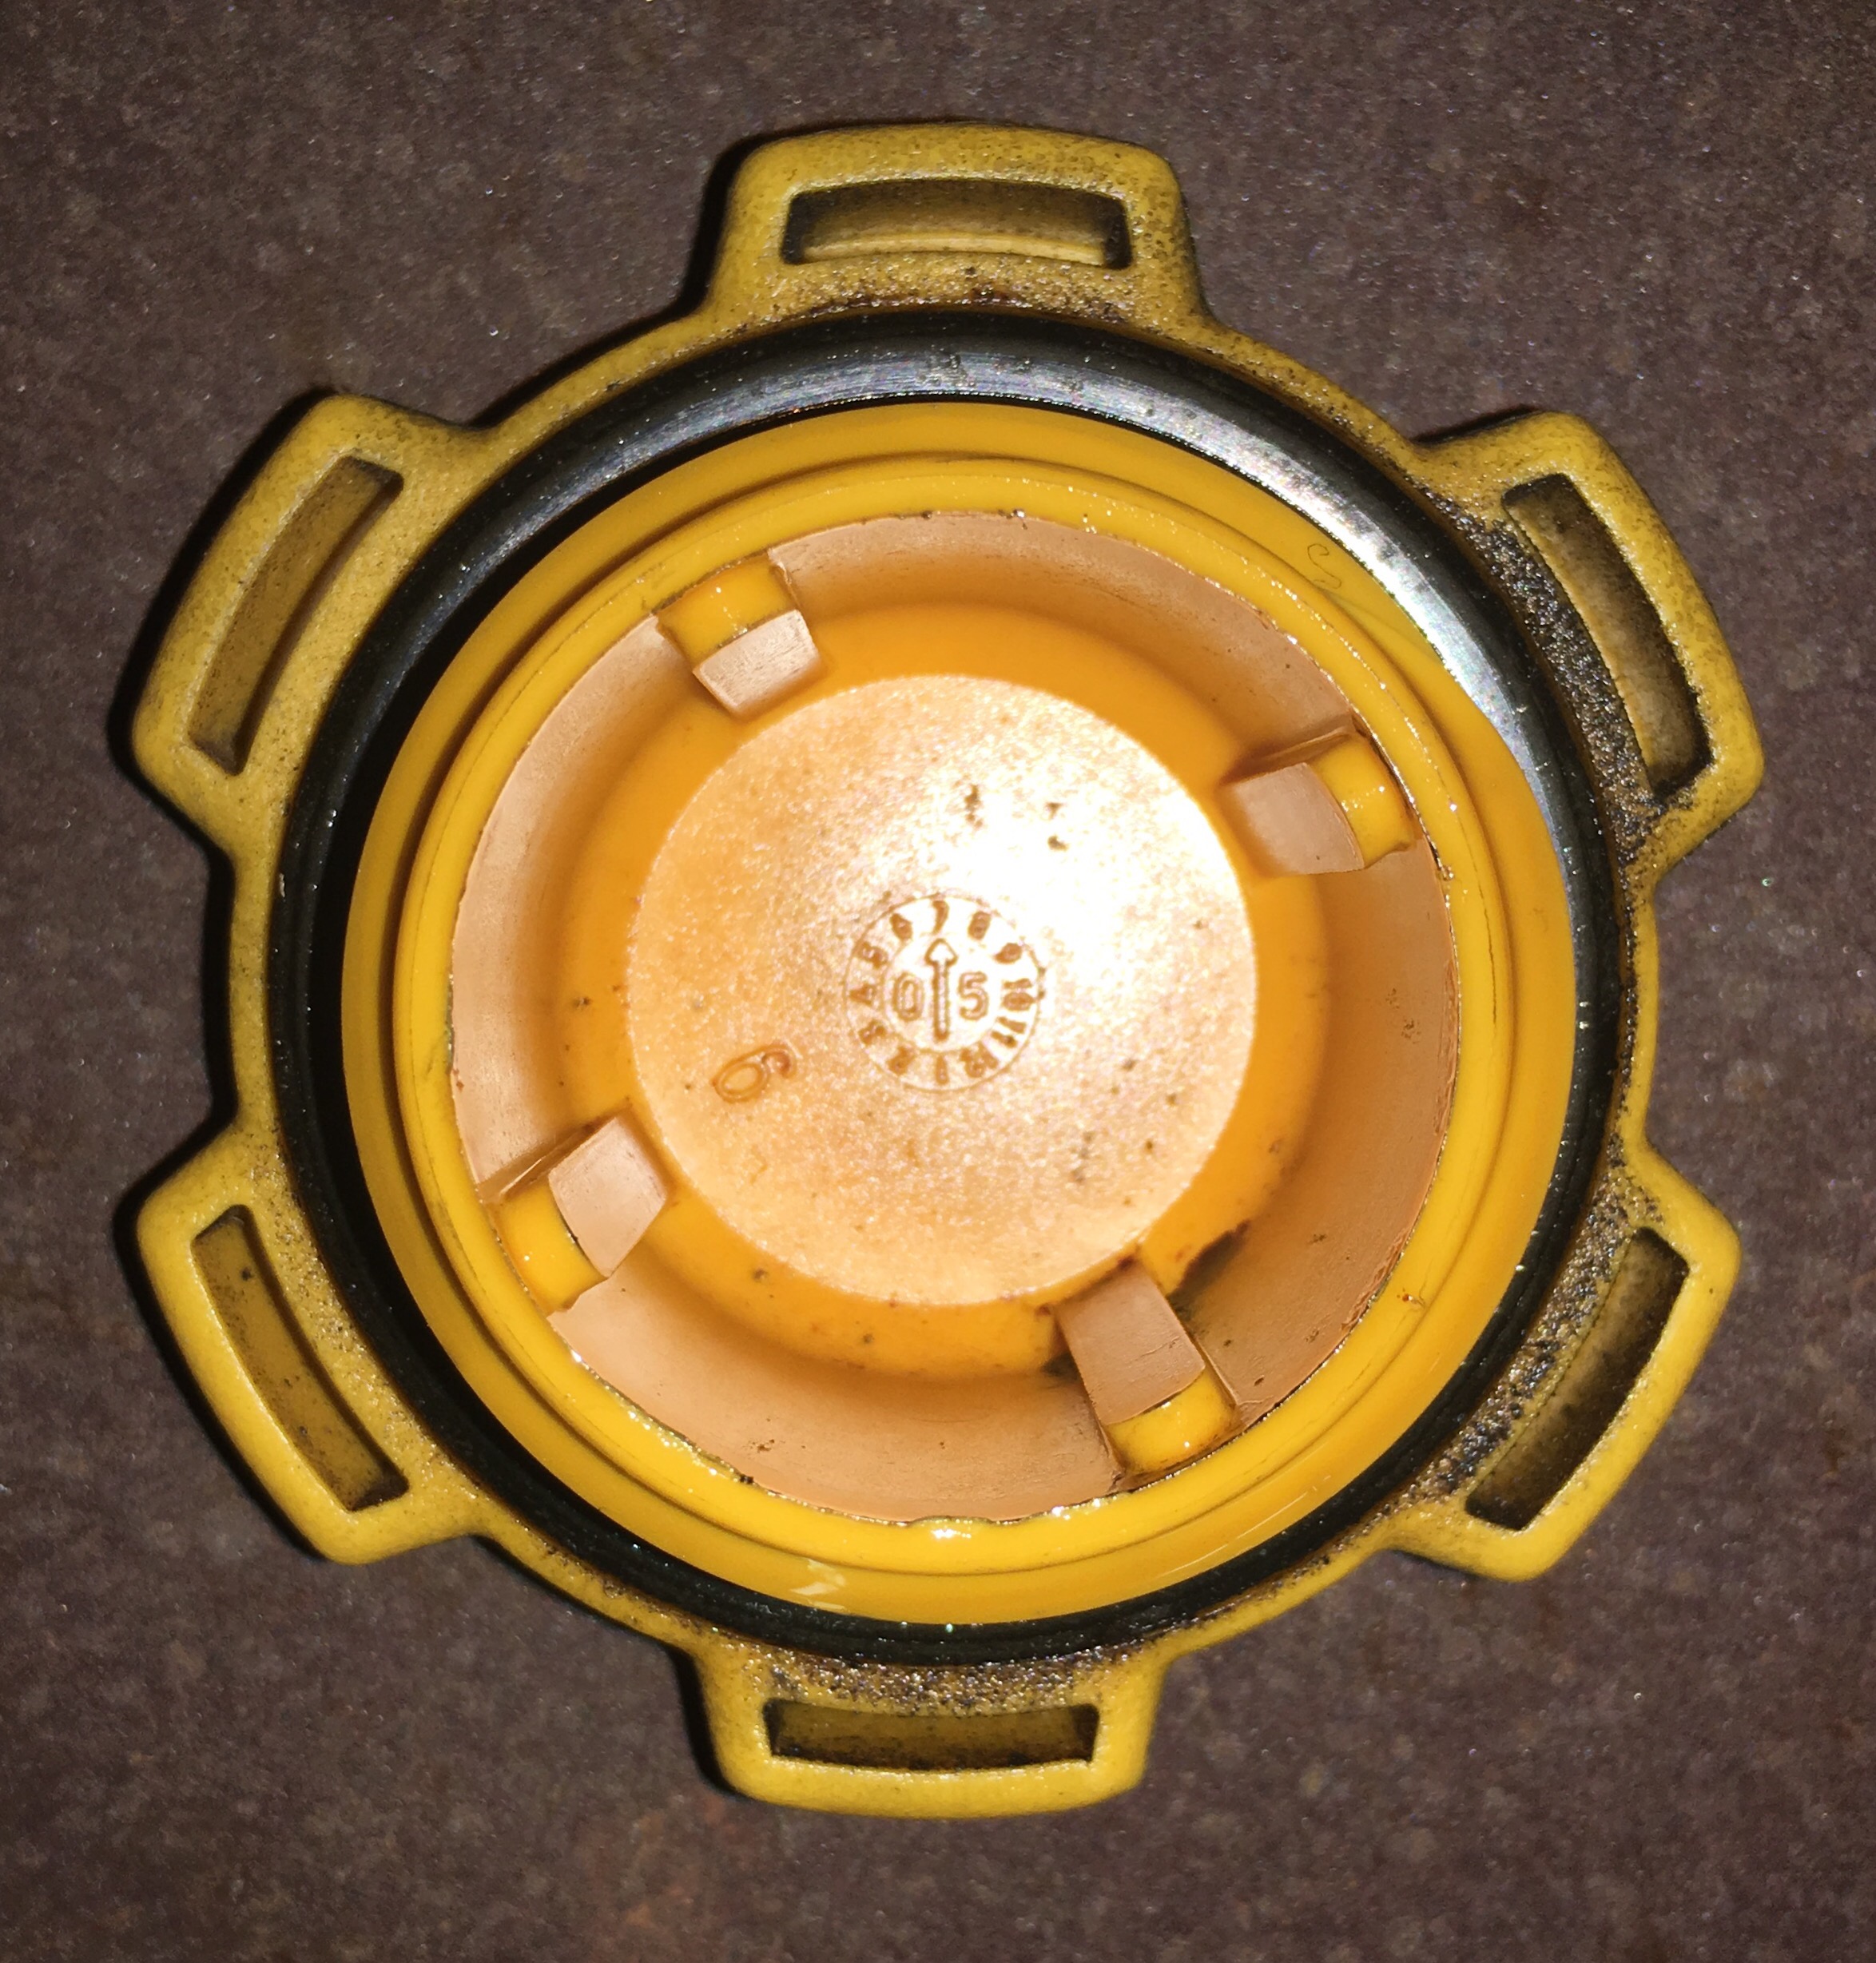
Which we’re interpreting as a motor built in July 2005. I don’t think many JDM sellers know about this. It’d be trivial to swap caps, for example. But if you’re picking up an engine off eBay, you may want to ask.
25
May
ECU Plan B
- By basil
- One Comment
We’re moving to Plan B for the ECU. The guys at Redline don’t appear to have the time or resources to figure out the Subaru trigger wheel. The issue is with the crank position sensing ability of the map in the Redline unit. The car does run with the ECU once it syncs but it’s a long, battery draining process as the ECU struggles to find its place. But it seems to run very well when it all syncs up:
As mentioned in a previous post, Plan B is to get the evenly spaced trigger wheel (with missing sync teeth), pull the motor, install and remap to a known/proven config. If all goes well, we’ll be back up and running in about a week. After that, we’re finally shipping the Basilari home for the more cosmetic work!
Other videos:
25
Apr
ECU Programming and Running Engine
- By basil
- One Comment
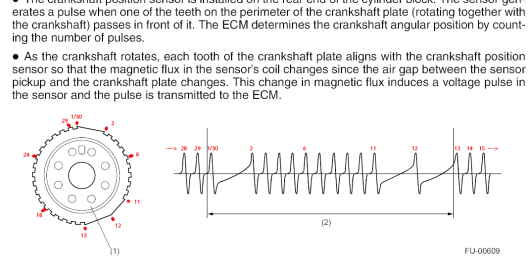
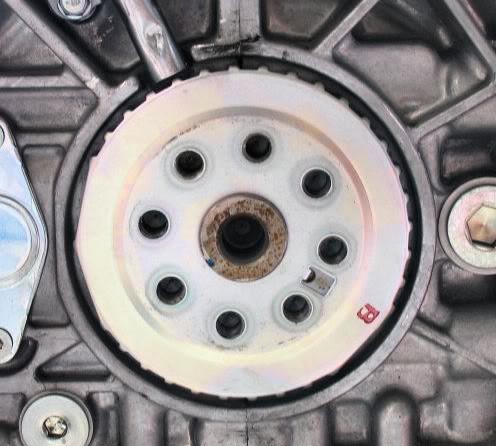
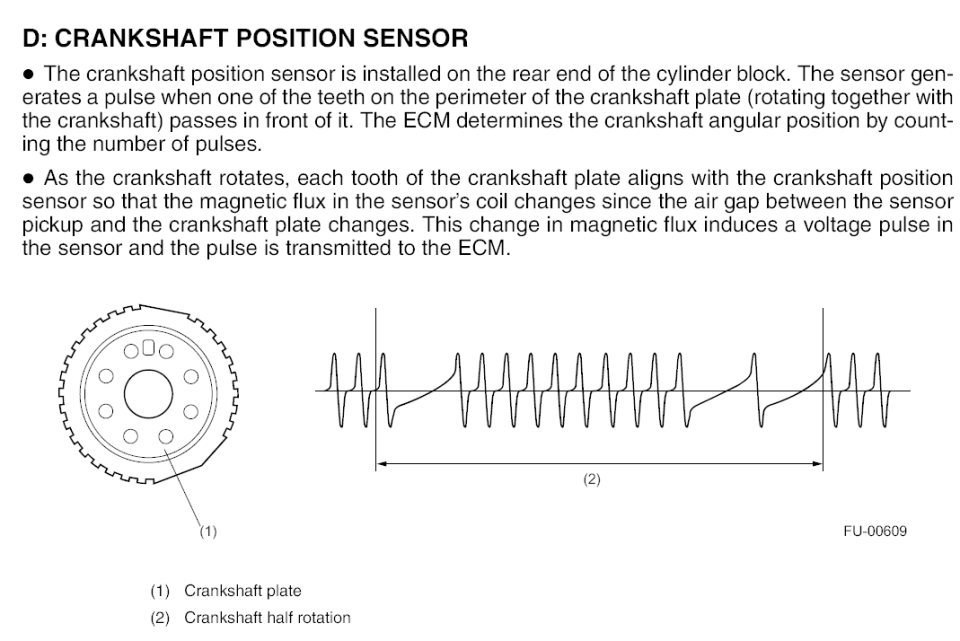
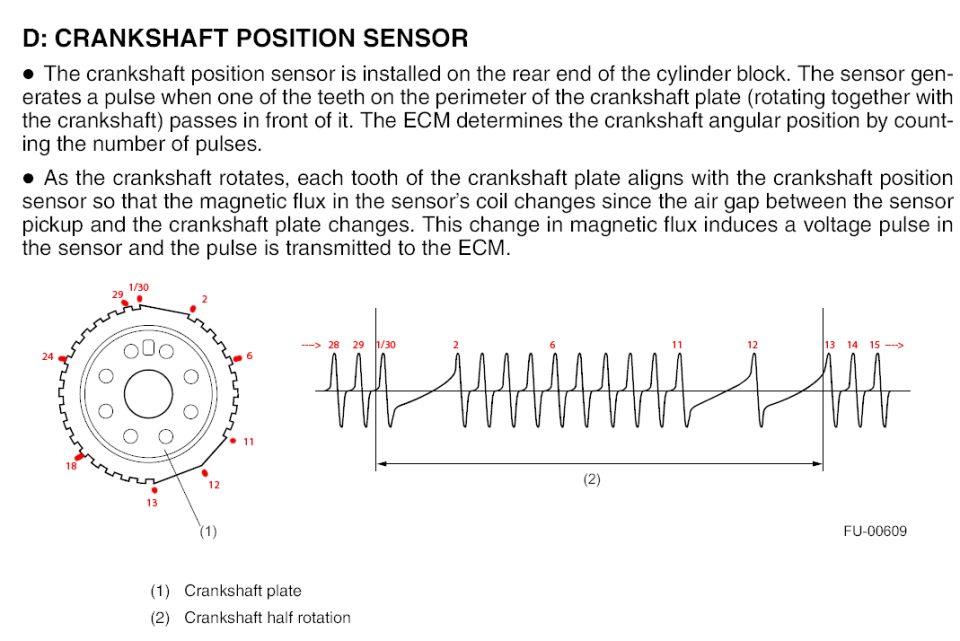
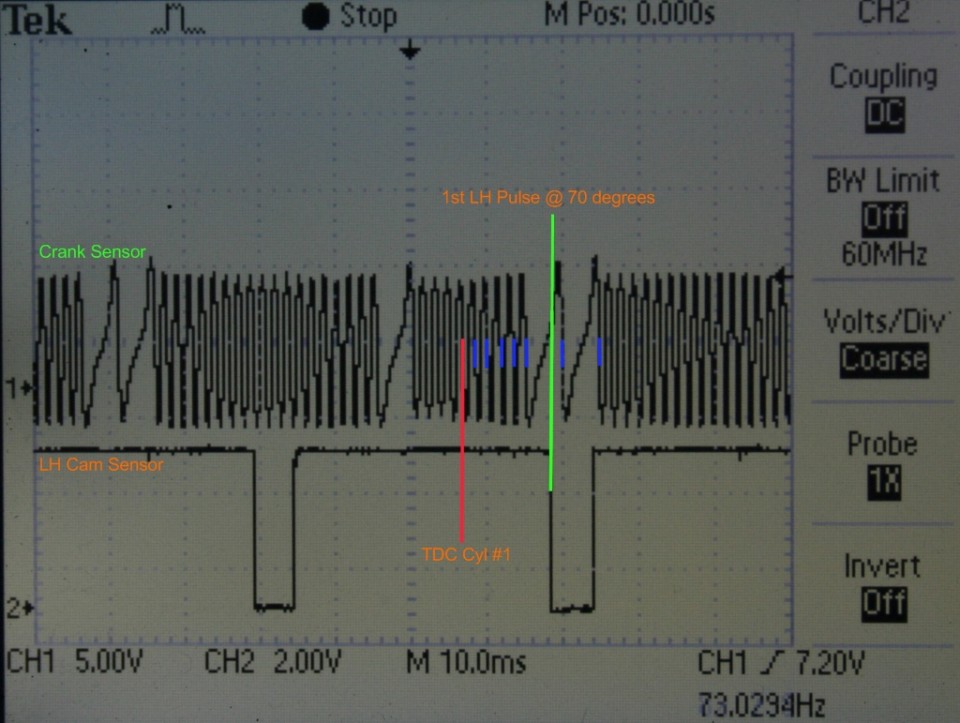
Well, we got the engine running – sort of.. We have some early problems getting it to fire at first due to the ECU not being able to recognize or deal with the stock Subaru trigger wheel (Subaru calls it a crankshaft plate – see pics below). Kevin usually specs an aftermarket trigger wheel from Outfront Motorsports with uniform teeth. The stock Subaru trigger wheel has a non-uniform pattern of pulse teeth and this is the essence of the problem we’re dealing with. We needed to get the Redline ECU to understand this stock wheel.
Kevin and the gang over at Redline worked together to get support for this Subaru trigger wheel. I found a few diagrams online showing the tooth pattern of the Subaru wheel. I also found a pulse pattern graph and mocked up a tooth count for my own understanding. I plan to do some software tinkering when I have the chance as the latest Redline ECU’s now have the ability to data log everything. Data and software I get – wrenches, not so much. :)
Below are the images I found related to our situation.
So the car starts after prolonged cranking as the ECU struggles to get in sync. Once synced, it runs:
Longer version:
So our next step is to get another update from Redline that should have consistent, reliable and spot syncing with this wheel. Once done, we should be moving on to the body work phase!
14
Jan
A skinny “Fat Chick” gets weighed.
- By basil
- No Comments
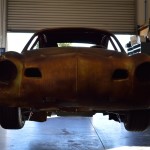
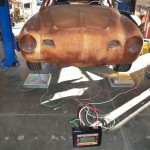
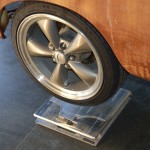
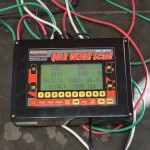
Got the car on the scale. She weighed in dry at 1,895 pounds giving us a 66/33 (rear/front) weight distribution. The weight distribution will be tuned up a bit before heading back to the east coast – would like to be at 62% rear bias.
At the moment, no complete interior, no bumpers, no fuel/coolant and no glass.
A stock Karmann Ghia is about 1,850 lbs.
- Weighing in at 1,895 lbs.
Category update.
08
Sep
914/EZ30D video is back..
- By basil
- No Comments
The video of the Brazilian Porsche 914 with EZ30D motor (not the EZ30R) is back online. For some reason the guy made it private, but it’s now public again. I know a few people wanted to know what happened to it (914/EZ30D video).
For the two guys that have sent email with questions, I’ll reply sometime this week. I’ve been traveling quite a bit. Thanks for the correspondence!
Oh and here’s a shout out Kyle Rice and his 1967 Karmann Ghia project! He’s doing a Ghia with Subaru 4-cylinder and transaxle.
03
Jul
Body to chassis work..
- By basil
- 2 Comments
Just wanted to toss up some pictures of the front-end stance (top row) some folks on ShopTalkForums wanted profile shots. These aren’t full profile but it’s all we have at the moment.
The first picture is the result of the initial body to chassis merge. I wanted to see if we could go lower. Kevin then tweaked the suspension to drop the front a bit more. I keep forgetting that these are 17 inch wheels – and as pictured, no rubbing, lock to lock! Trying to find the optimal mix between aesthetics and performance.
- Getting there.
- 17s on a Ghia.
- Lowered a bit more after initial body placement.
- Bader-like in stance. No adjustments yet.
- Got stance?
- Slightly rolled fenders.
- Wheel profile.
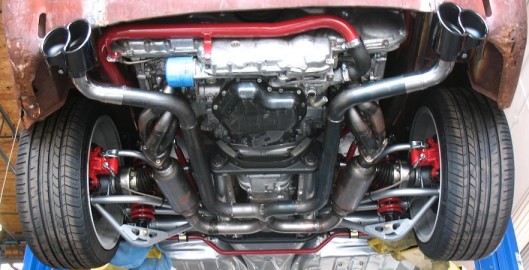
- Exhaust view from down low.
Ghias have narrow rear wheel wells. So on the rear we rolled the fenders a bit to comfortably fit the 205s, but now we can (and will, eventually) go to 215s with no problem.
02
Jul
Exhaust work
- By basil
- 2 Comments
- Exhaust work – pre-finish.
- Exhaust view from down low.
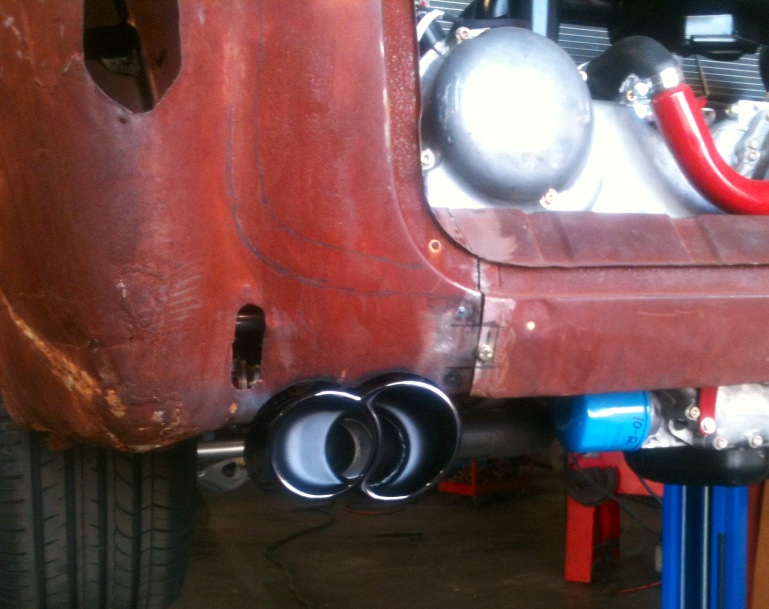
- Oval Porsche tips.
Today Kevin sent a few pics of the exhaust work. Welding will be finished and then it’ll be sent out for Titanium-color heat coating.
Underneath the car looks great. On top, not so much. :)
06
May
Aerodynamic exploration
- By basil
- No Comments
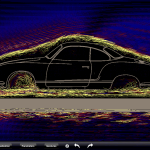
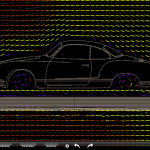
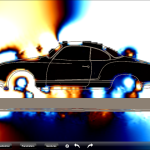
Tinkering with a wind tunnel simulator on the iPad. The low light is extremely slippery in the wind. Check out the laminar flow.
19
Mar
The Basilari 306R chassis featured at Hot VWs Drag Day
- By basil
- No Comments
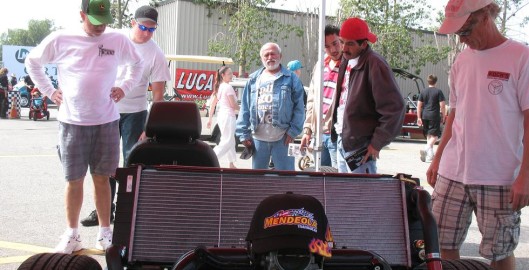
First public showing of the Basilari 306R (well, the chassis at least) and apparently, the chassis was a hit! Kevin said that his booth had visitors checking on the chassis all day long. Photos below!
“The Drag Day is an event held twice a year in Southern California. Since we brought this event back just over 10 years ago, it has been a tremendous success.”
-Bugin.com
25
Feb
Chassis assembly – coming together..
- By basil
- No Comments
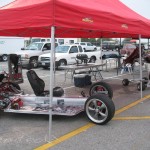
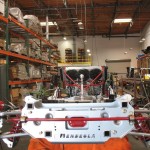
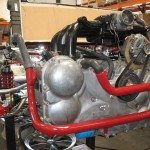
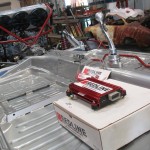
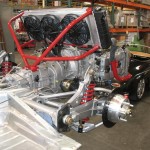
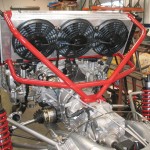
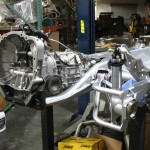
Good updates received today. The Redline ECU was delivered. All parts have returned from powder coating and Kevin has installed the radiator frame and coolant pipes. The motor was re-bolted to the transaxle as well. The car is really, really coming together although we still have a long ways to go.
Next up – kafer bars, completion of the starter system, ECU installation, fuel system and finding some cheap tires.
- frontal view of the chassis, with brakes, radiator setup and black mamba shifter.
- Powder coated coolant pipes.
- Redline ECU (to be installed soon).
- Three cooling fans.
18
Feb
Back from powder coating
- By basil
- No Comments
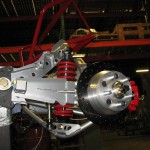
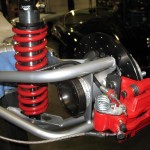
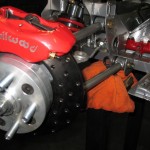
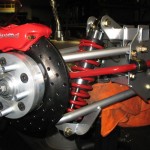
More suspension and brake parts have arrived back from powder coating. I haven’t talked to Kevin for about a week – been super busy at work. The roll cage and the kafer bars aren’t shown and I’m not sure if they are back yet. It’s very cool seeing this car come together – back to work for me though. :)
Kevin scooped me and posted these on The Samba with this pics – enjoy..
- Rear suspension and powder coated red radiator frame.
- Rear suspension view with emergency brake caliper.
- Closeup of the front suspension and brake reservoir.
- Powder coated coil over spring and sway bar
18
Feb
Porsche/Basilari comparison at a glance.
- By basil
- No Comments
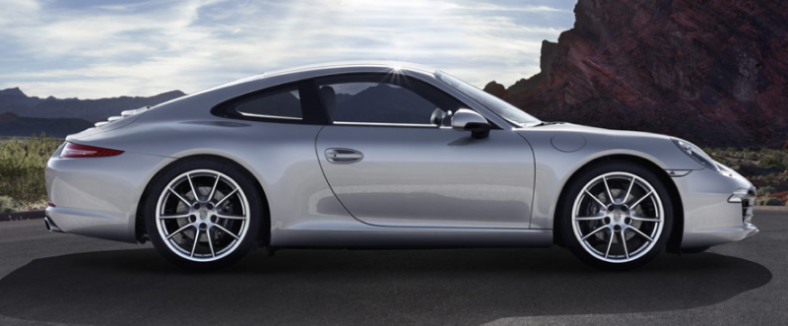
http://www.porsche.com/usa/models/911/911-carrera-4s/
- 350 hp @ 7,400 rpm
- 0-60 mph: 4.6 s
- Top Track Speed: 179 mph
- Consumption (Highway): 27 mpg
- Curb weight: 3,042 lbs
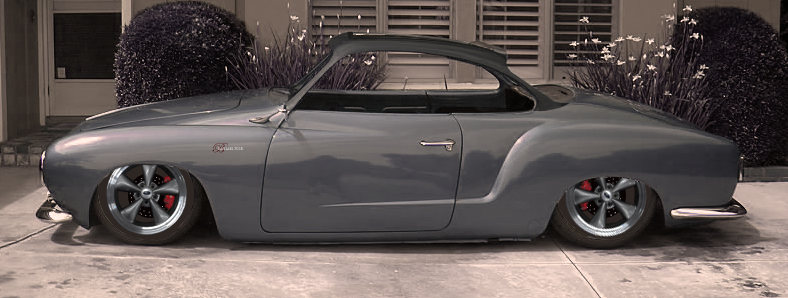
Basilari 306R:
- 320 hp @ 7,200 rpm
- 0-60 mph: 4.2 s (Estimated based on gearing, HP, tires, drag coefficients and weight)
- Top Track Speed: 168 mph (gear ratio derived)
- Consumption (Highway): 30+? (TBD)
- Curb weight: 2,050 lbs (Estimated)
The Porsche starts at about $82k. The Basilari 306R does not. :)
The Porsche gives up nearly a 1,000 lbs in extra weight so in terms of overall quickness the Ghia should dominate. The Porsche is pushing 8.69 lbs of weight for each horsepower generated by the motor. The Ghia will be pushing approximately 6.40 pounds per horsepower.
04
Feb
Silver chassis and clutch access panel.
- By basil
- No Comments
Another quick update:
1. The chassis has returned from powder coating. It’s two powder coat layers – one silver and the other clear.
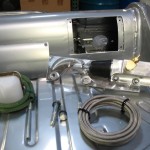
2. The second photo shows the access panel for the hydraulic clutch system.
This chassis is going to really pop when the dark red suspension components return from powder coating. We’ll try to hold off on updates until we get some significant progress on the chassis.
- Rebuilding after powder coating.


Recent Comments